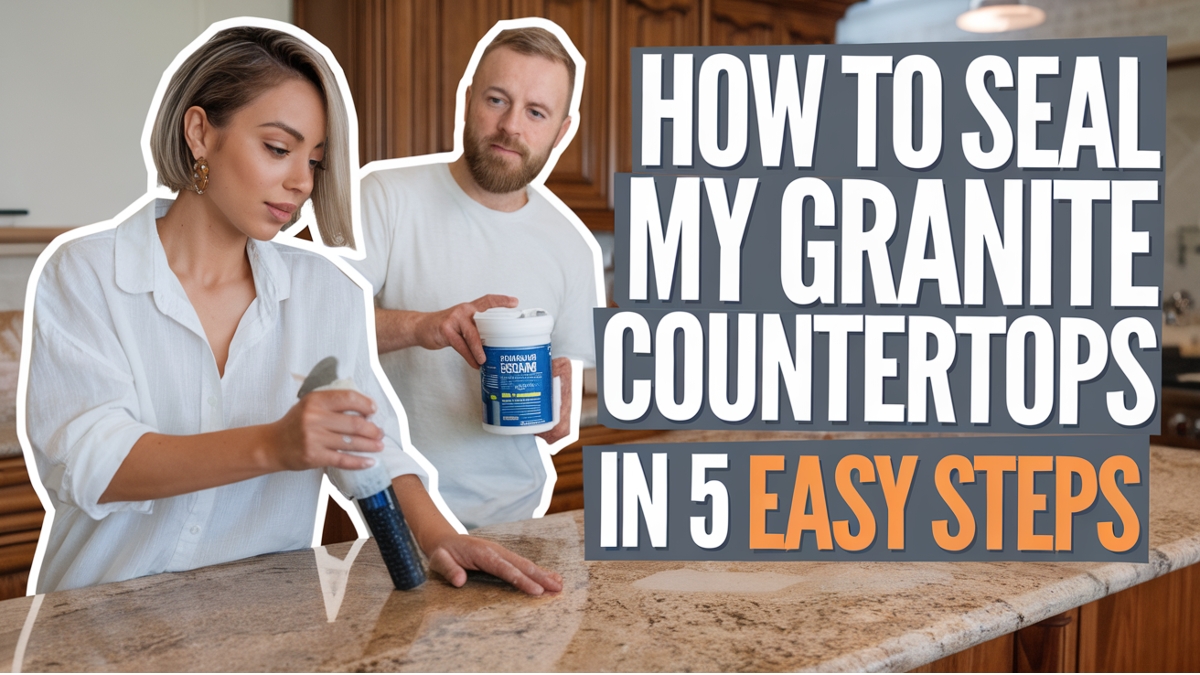
Granite is a popular choice for countertops due to its elegance, durability, and resistance to heat. However, despite its toughness, granite is still a porous material. This means it can absorb liquids like oil, wine, or even water, which can cause stains or damage over time. Sealing granite creates a protective barrier that prevents these substances from seeping into the stone.
Sealing your granite countertops has many benefits:
Real-world example: Homeowners who regularly seal their granite countertops report fewer problems with staining, making cleanup easier and less frequent, thereby saving time and maintenance costs.
By following the right steps, you’ll not only protect your granite but also enhance its natural features, ensuring it stays as vibrant as the day it was installed.
Key Takeaways
Table of Contents
What You Need Before You Begin: Essential Tools and Materials
Before starting the sealing process, gathering the right tools and materials is crucial for achieving a flawless finish. Using the appropriate products ensures that the sealant adheres properly to the granite and provides long-lasting protection.
Granite Sealant:
Selecting the right sealant is essential. Look for products designed specifically for granite. The two main types are:
Popular and trusted brands include DuPont StoneTech Bulletproof Sealer and Granite Gold Sealer, which are highly rated for their effectiveness and durability.
Cleaning Supplies:
Before sealing, the countertop needs to be thoroughly cleaned. For cleaning, use mild dish soap and a soft cloth to remove dirt and grime. Avoid harsh chemicals, as they can damage the surface. Rubbing alcohol is a great option for removing oils and residue that might interfere with the sealant’s adhesion.
Safety Gear:
It’s important to protect yourself during the sealing process. Wear gloves to shield your hands from chemicals and dirt, and use a mask if you’re working in a poorly ventilated area to avoid inhaling fumes.
Table: Common Sealant Types and Their Features
Sealant Type | Advantages | Disadvantages | Recommended For |
|---|---|---|---|
Penetrating Sealant | Deep protection, does not alter appearance | Takes longer to dry | Natural, porous stone |
Topical Sealant | Quick application, protects surface well | Can change texture or appearance | Smooth, polished granite |
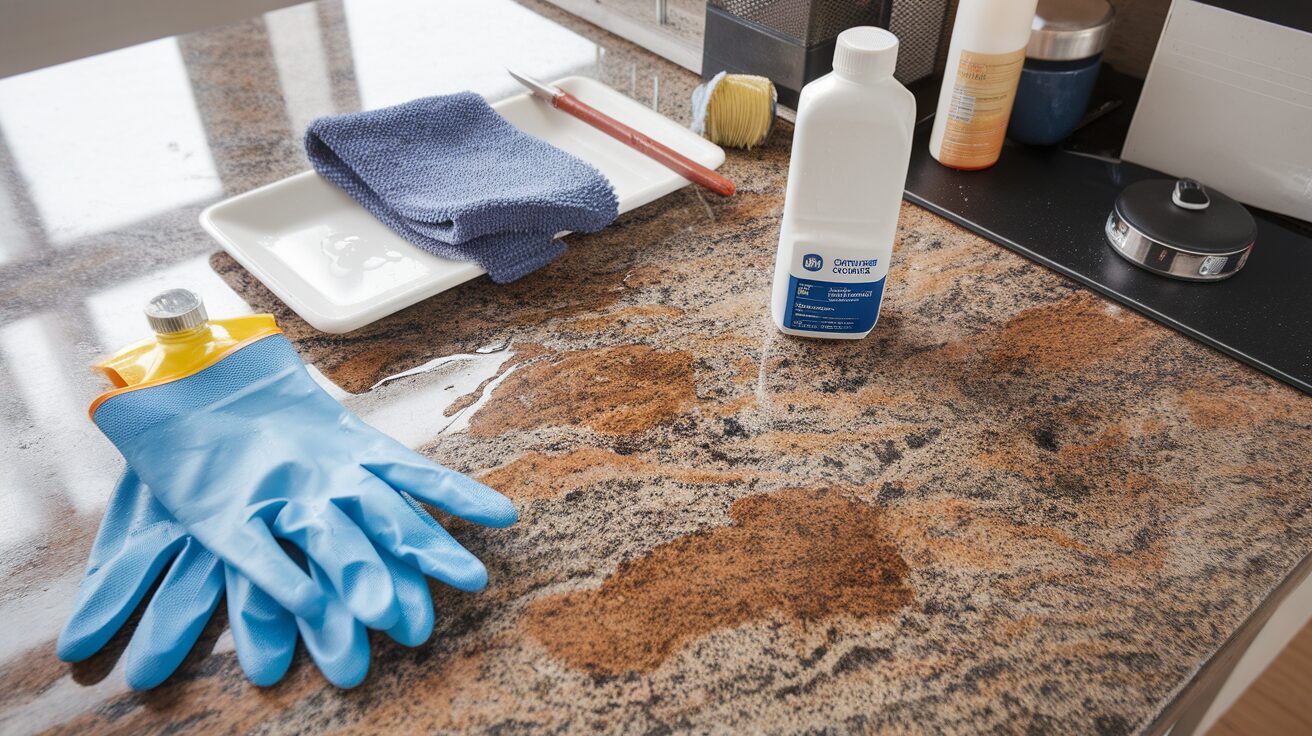
A setup of the tools needed for sealing granite countertops, including sealant, cleaning supplies, and gloves.
Step 1: Clean Your Granite Countertop Thoroughly
Cleaning your granite countertop before applying the sealant is a crucial first step. Any leftover dirt, grease, or residue can interfere with the sealant’s ability to adhere to the stone. A clean surface will allow the sealant to bond better, ensuring that your countertop is properly protected.
How to Clean Your Granite Countertop:
By cleaning the surface thoroughly, you’re ensuring that no particles or substances will interfere with the sealing process. This step sets the stage for the next steps and contributes to a smooth and even application.
Step 2: Test the Granite’s Porosity
Not all granite countertops are the same, and some may already have a protective coating or be naturally resistant to staining. Before applying a new layer of sealant, it’s essential to test whether your countertop is porous and needs sealing.
How to Test for Porosity:
Testing your granite’s porosity can save you time and money by letting you know whether you actually need to apply a new coat of sealant.
Step 3: Apply the Granite Sealant
Once your countertop is clean and dry, and you’ve determined that it’s porous and needs sealing, it’s time to apply the sealant. This step requires precision and care to ensure an even coat that will provide maximum protection.
How to Apply the Sealant:
It’s essential to apply the sealant evenly, as uneven application can lead to streaks or patches that are not fully protected.
Step 4: Let the Sealant Dry and Cure
Drying and curing the sealant is a vital step that ensures the protective barrier forms properly. Patience is key here, as the sealant needs to set and bond to the stone for optimal protection.
Drying and Curing Process:
By allowing the proper curing time, you ensure the countertop is fully protected and ready for regular use without worrying about smudging or compromising the seal.
Step 5: Buff and Polish the Countertop
Once the sealant has dried and cured, it’s time to finish the job by buffing the countertop. Buffing not only enhances the appearance of the granite but also ensures that the sealant is evenly distributed and provides a smooth, glossy finish.
Buffing and Polishing the Surface:
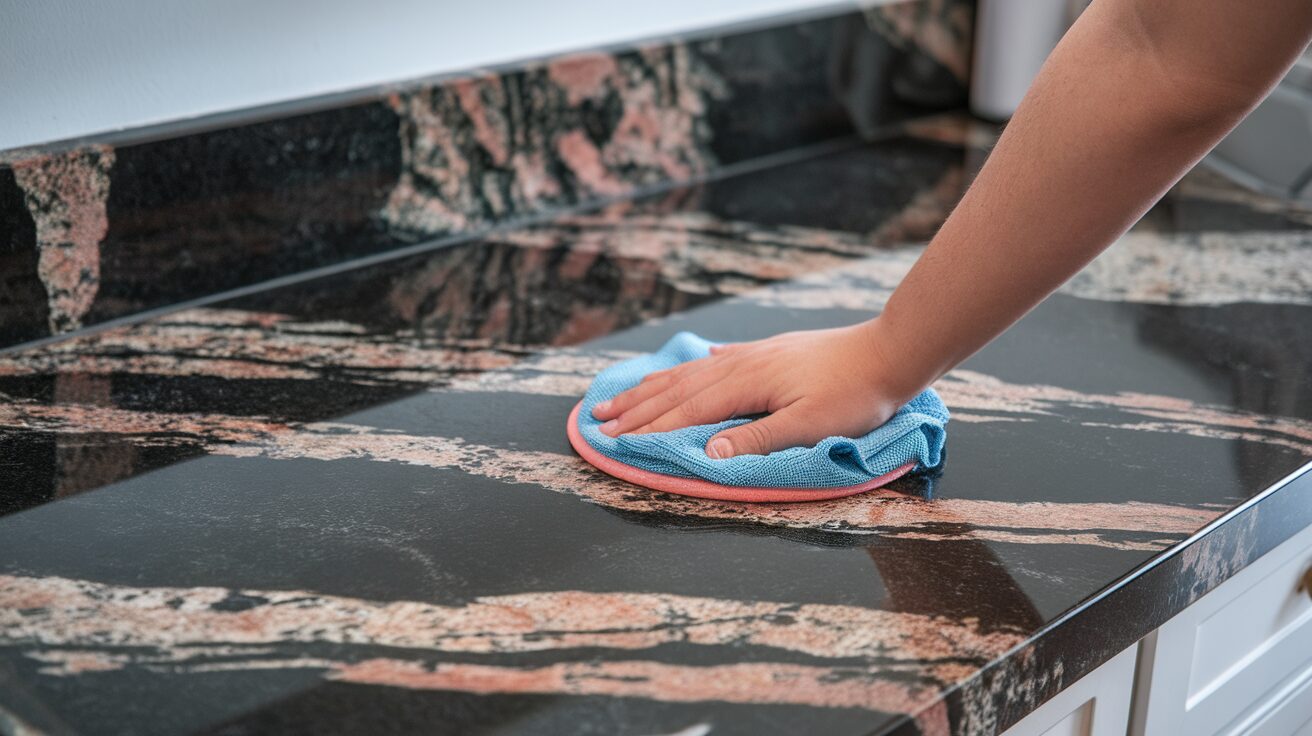
A person buffing a granite countertop with a microfiber cloth.
How Often Should You Reseal Your Granite Countertops?
Granite countertops are low-maintenance, but regular resealing is necessary to maintain their appearance and protective layer. Resealing intervals vary depending on how frequently the countertop is used and its exposure to moisture.
How to Know When It’s Time to Reseal:
On average, resealing is recommended every 1-2 years, though high-use areas may require more frequent applications.
Conclusion: Ensure Long-Lasting Protection for Your Granite Countertops
By following these five simple steps, you can effectively seal your granite countertops and protect them for years to come. Proper sealing enhances the durability, aesthetics, and overall functionality of your granite, making it an investment worth maintaining. Whether you’re a DIY enthusiast or a seasoned homeowner, sealing your granite countertops ensures that they stay beautiful and stain-free.
If you’re ready to protect your granite countertops, follow these expert tips and get started today!
Take your kitchen and countertop care to the next level! Protect your granite surfaces with high-quality products like the Quest Nutrition Protein Chips Variety Pack Bundle, High Protein, Low Carb, 24 Count—perfect for a snack while working on your next project. Click here to get yours now!
Frequently Asked Questions
Can I seal my granite countertops myself?
Yes, sealing your granite countertops is a DIY project that’s easy to tackle with the right tools and sealant. Just follow the proper steps for smooth and effective application.
What is the best sealant to use on granite?
Penetrating sealants like DuPont StoneTech Bulletproof or Granite Gold Sealer are excellent choices for granite countertops, as they provide long-lasting protection without changing the stone’s appearance.
Is Dawn dish soap safe on granite?
Yes, Dawn dish soap is a safe, mild cleaner for granite. Avoid harsh chemicals and acidic cleaners, as they can damage the surface over time.
How much does it cost to reseal granite countertops?
The cost to reseal granite countertops typically ranges from $0.50 to $2 per square foot, depending on the type of sealant used and the professional or DIY route.
How can I tell if my granite countertop is sealed?
Conduct the water droplet test: if the water soaks in quickly, it’s time to reseal. If it beads up on the surface, your countertop is still sealed.
How long does it take to seal granite countertops?
The sealing process takes about 1-2 hours, with additional time required for drying and curing (24 hours).

Robert Martin is a passionate blogger and versatile content creator exploring the intersections of personal finance, technology, lifestyle, and culture. With a strong background in financial literacy and entrepreneurship, he helps readers make smarter money moves, build sustainable side hustles, and achieve financial independence.
Beyond finance, Robert shares his insights on home decor and gardening—offering practical ideas for creating beautiful, functional living spaces that inspire comfort and creativity. He also dives into the dynamic worlds of sports and celebrity news, blending entertainment with thoughtful commentary on trends that shape today’s pop culture.
From decoding the latest fintech innovations to spotlighting everyday success stories, Robert delivers content that’s informative, relatable, and actionable. His mission is to empower readers to live well-rounded, financially confident lives while staying inspired, informed, and ahead of the curve.

