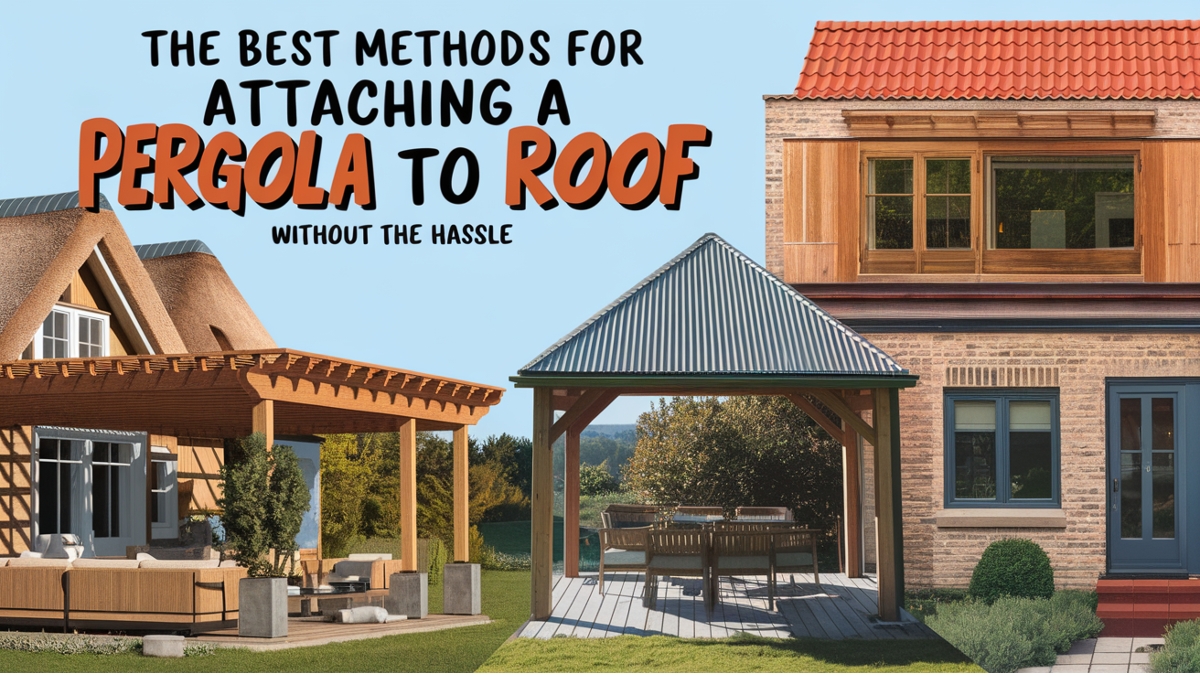
Attaching a pergola to a roof offers a fantastic way to enhance your outdoor space, whether you’re a homeowner looking to create a backyard or a business owner aiming to elevate your restaurant’s outdoor dining area. A pergola can add both aesthetic appeal and functionality by providing much-needed shade and defining outdoor spaces.
However, the idea of attaching a pergola to a roof can seem intimidating. From structural concerns to the challenge of ensuring a secure fit, many people feel overwhelmed by the complexity of the process. In this article, we will guide you through the best methods for attaching a pergola to a roof without the hassle, covering everything from preparation to execution. With the right techniques and materials, you’ll be able to add a stunning pergola to your space that will last for years to come.
Key Takeaways
- Method Selection: Choose the right attachment method for your specific roof type to ensure stability and safety.
- Structural Integrity: Prioritize securing the pergola in a way that won’t compromise the roof’s structure.
- Simple Installation Options: There are low-cost, DIY-friendly solutions that reduce complexity.
- Eco-friendly Practices: Sustainable materials and methods can reduce your environmental impact.
- Aesthetic Considerations: A pergola should complement the style of your roof and surroundings.
Table of Contents
Understanding Roof Types and Their Impact on Attaching a Pergola
Before beginning the process of attaching a pergola to your roof, it’s crucial to understand the different types of roofs and how they affect installation. Roof types can vary greatly, and each has its own unique challenges and requirements for securely attaching a pergola.
Flat Roofs
Flat roofs are common in urban settings and residential properties. While they may seem like an easy surface for attaching structures, flat roofs often require additional support to ensure the pergola remains stable. This is because flat roofs may not have the natural pitch that helps to disperse weight and water. For flat roofs, you’ll need to use mounting systems like L-brackets that secure the pergola directly to the roof’s structure.
Pitched Roofs
Pitched roofs are often more straightforward for attaching pergolas because they allow the weight to be distributed along the roof’s slope. Post anchors, which are mounted into the roof’s beams, are often the best choice for these types of roofs. They provide a secure base for the pergola’s vertical posts, ensuring stability even during heavy winds or storms.
Gable and Hip Roofs
Gable and hip roofs can be more complex due to their unique angles and slopes. For these types of roofs, you may need custom brackets or a combination of post anchors and bracketing systems to provide support. It’s important to calculate the weight load and ensure the structure is properly balanced.
Key Materials and Tools for Attaching a Pergola to a Roof
Attaching a pergola to a roof requires the right materials and tools to ensure a safe, durable, and aesthetically pleasing result. Having everything you need on hand will make the installation process smoother, whether you’re a seasoned DIYer or a beginner.
Pergola Materials
For the pergola itself, you’ll want materials that are both durable and weather-resistant. Wood, aluminum, and steel are the most commonly used materials. Wood provides a traditional look and is relatively easy to work with, while aluminum and steel are more modern options that require less maintenance over time. When selecting wood, ensure it’s treated for outdoor use to prevent rot, warping, or insect damage.
Mounting Hardware
The mounting hardware is crucial to ensure the pergola is securely attached to the roof. L-brackets and post anchors are the most commonly used components. L-brackets are best for flat roofs, as they allow the posts to be mounted securely to the roof’s surface. For pitched roofs, post anchors that are bolted into the roof beams offer a more secure, load-bearing attachment.
Tools for Installation
Key tools for attaching a pergola to your roof include a drill, screwdriver, tape measure, level, and wrench. These tools will help you properly measure, drill pilot holes, and install the brackets or post anchors with precision. It’s also essential to have safety gear such as goggles and a hard hat.
Step-by-Step Guide to Attaching a Pergola to Your Roof
Installing a pergola onto your roof might sound intimidating, but breaking it down into manageable steps makes it a much simpler task. With the right materials, planning, and careful execution, you’ll be able to attach a pergola to your roof in no time.
Step 1: Preparation and Measuring
The first and most crucial step in attaching a pergola to your roof is thorough preparation and accurate measuring. This foundation phase will set the tone for the entire installation, ensuring everything fits properly and is securely attached. Taking your time at this stage will save you from frustration and costly mistakes later on.
Choose the Right Location
Before you dive into measurements, it’s important to carefully select the ideal location for your pergola. Look for a space that will enhance your outdoor area while providing enough room for the structure to function as intended. Consider the layout of your outdoor space and how the pergola will interact with other features, such as pathways, furniture, and plant life. If your pergola will be placed over an outdoor seating area or dining space, make sure there’s enough clearance above for comfortable headroom. The last thing you want is to end up with a structure that feels too cramped or obstructs the flow of your space.
Check the Ground Level
Even though you’re attaching the pergola to the roof, it’s essential to ensure that the ground beneath it is level. Use a spirit level or laser level to check that the area where your posts will sit is flat and even. If the ground slopes or if the foundation isn’t even, you might need to adjust the pergola height or make modifications to the posts. This will help in maintaining the structural integrity of the pergola once it’s installed.
Measuring for Precision
Accurate measurements are key to ensuring that your pergola fits perfectly into the designated space and doesn’t interfere with roof features like chimneys, vents, or skylights. Start by measuring the width and depth of the area where you plan to attach the pergola. Pay attention to any potential obstacles, such as gutters, pipes, or roof beams that may affect placement. You’ll also need to measure the height of the space to determine how tall you want your pergola to be. A typical pergola height ranges between 8 and 12 feet, depending on your personal preferences and the intended purpose of the structure.
Once you have your measurements, it’s essential to mark the exact locations for the posts and beams. Use a chalk line or tape to outline where the pergola will sit, ensuring everything is aligned and symmetrical. This will serve as your reference when you begin the actual installation.
Verify Roof Support
One of the most important aspects of the preparation phase is making sure the roof can support the weight of the pergola. The attachment points must align with structural components like roof beams or rafters to ensure the pergola remains stable. You may want to consult a structural engineer if you’re unsure whether the existing roof structure can bear the additional load. Additionally, if your roof is older or shows signs of wear, you may need to reinforce the areas where the pergola will be attached to ensure the integrity of both the roof and the structure itself.
Taking these steps will guarantee a secure foundation for your pergola and avoid problems down the road.
Step 2: Installing Mounting Hardware
Now that you’ve measured your space and confirmed the integrity of your roof, it’s time to move on to installing the mounting hardware. Proper mounting ensures that your pergola will be firmly anchored to the roof and won’t shift or move with time and weather conditions.
Installing L-Brackets for Flat Roofs
For flat roofs, L-brackets are an effective way to secure the pergola posts. These brackets provide a solid attachment point between the roof and the posts. To begin, use a drill to create pilot holes at the marked attachment points on your roof. It’s essential to drill into the roof’s support beams or rafters to ensure the pergola is securely anchored. Once the pilot holes are drilled, place the L-brackets over the holes and use heavy-duty screws to fasten them securely to the roof. These screws should be long enough to penetrate the roof material and reach the structural beams underneath.
If you are concerned about water leaks, it’s highly recommended to apply a high-quality sealant around the mounting points to create a watertight seal. This will help prevent moisture from entering the roof and causing damage or leaks over time. Ensure that the brackets are positioned evenly, both in height and spacing, to ensure that the pergola structure is level.
Using Post Anchors for Pitched Roofs
For pitched roofs, post anchors are a more appropriate option. These anchors allow the pergola posts to be securely fixed to the roof beams, ensuring that the structure stays stable even in windy or stormy weather conditions. To install post anchors, you’ll need to first measure the position where each post will sit, keeping the measurements precise for a symmetrical design.
Once you’ve marked the spot, drill pilot holes into the roof beams, making sure to align them with the anchor plates. Post anchors are typically made of steel, which is both durable and resistant to weathering. Once the pilot holes are drilled, bolt the post anchors securely in place with high-strength bolts or screws, depending on the specifications provided by the manufacturer. As with the L-brackets, apply sealant around the post anchor to prevent water infiltration.
Ensure Alignment and Leveling
It’s vital that the mounting hardware is installed with precision. Even a small misalignment can cause the pergola to be uneven, leading to potential stability issues down the line. Use a level to double-check that each bracket or anchor is positioned correctly, both horizontally and vertically. This is particularly important when dealing with pitched roofs, where the angle can cause the structure to lean or appear crooked if not aligned properly.
Before finalizing the installation of the mounting hardware, step back and visually inspect the structure to make sure everything aligns with your initial measurements. Once you’re satisfied with the positioning, tighten the bolts or screws securely, ensuring there’s no movement. A strong and stable attachment will ensure your pergola withstands the test of time and weather.
Step 3: Attaching the Pergola Structure
With the mounting hardware securely installed, the next step is to attach the pergola’s main structure. This involves connecting the pergola beams to the mounted posts and ensuring the entire structure is balanced, level, and secure.
Attaching the Beams to the Posts
Begin by securing the main support beams to the top of the posts. These beams will form the “roof” of the pergola, providing shade and structure. Depending on the design of your pergola, the beams may either rest directly on top of the posts or be connected with brackets or connectors. If your design requires connectors, align the brackets with the pre-drilled holes in the beams and posts, and secure them tightly with bolts or screws.
When attaching the beams, be sure to use the appropriate type of fastener to match the material you’re working with. For wooden pergolas, wood screws or lag bolts are usually the best choice, as they provide a strong and durable hold. For metal pergolas, you may need to use steel bolts or rivets. Be mindful of the spacing between the beams, ensuring they are evenly distributed along the posts. If you have a pre-made pergola kit, follow the manufacturer’s instructions to ensure proper beam placement.
Ensuring Proper Alignment
Alignment is key to achieving a symmetrical and balanced pergola structure. As you attach the beams, check to make sure they are level and properly aligned with the posts. A small misalignment can lead to an uneven structure, affecting both the aesthetics and the structural integrity of the pergola. Use a carpenter’s level to confirm that the beams are straight and even. If the pergola design includes crossbeams or slats for added support, ensure that these are spaced evenly and securely attached.
Securing the Entire Structure
Once the beams are in place, it’s time to secure them by tightening all screws or bolts. Use a wrench or screwdriver to ensure the fasteners are tightly secured, but be careful not to over-tighten, as this can strip the threads or damage the wood or metal. As you secure the entire structure, step back periodically to visually inspect the alignment and level of the pergola.
After all the beams are firmly in place, check the entire pergola structure for stability. Gently shake the pergola to make sure it is securely attached to the roof and does not shift or wobble. If any movement is detected, reinforce the attachment points and double-check the fasteners.
Final Touches
Once the pergola structure is securely installed, you can move on to any additional customization, such as adding lighting, drapes, or climbing plants to create a unique look. At this point, it’s also essential to check the structure for any signs of damage or imperfections, and make any necessary adjustments before completing the installation.
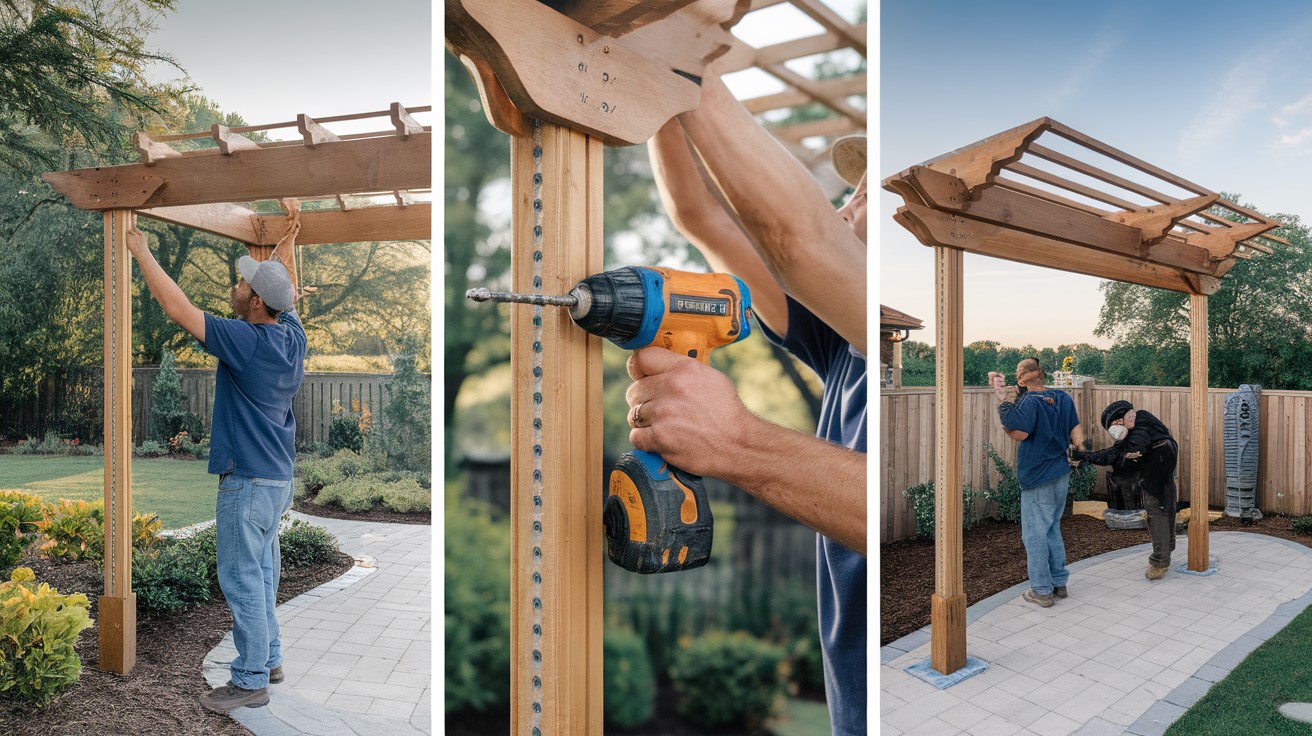
The step-by-step process of installing a pergola, from measuring to securing the posts
Ensuring Structural Integrity and Safety
One of the most important aspects of attaching a pergola to a roof is ensuring that the structure is secure and stable. Whether you’re installing the pergola yourself or hiring a professional, it’s critical to focus on the structural integrity of both the pergola and the roof.
Assessing Roof Stability
Before attaching anything to your roof, inspect it to ensure it can handle the weight of the pergola. If your roof has any signs of damage or weakening, it’s best to address these issues before proceeding with the installation. You may need to reinforce the roof’s support beams if you’re attaching a heavy pergola.
Weight Distribution
Distribute the weight of the pergola evenly to prevent stress on any one area of the roof. This is particularly important for flat roofs, where the lack of slope can cause more concentrated weight. Spread out the posts to ensure they are not too close together.
Use of Reinforced Fasteners
Using strong, reinforced fasteners such as heavy-duty bolts and screws is essential for keeping the pergola secure. Avoid using low-quality hardware, as it can lead to instability or rust over time. Stainless steel or galvanized steel are great choices for rust prevention.
| Key Aspect | Details | Tips |
| Assessing Roof Stability | Before attaching the pergola, inspect the roof for any damage or weakening. Ensure that the roof can support the weight of the pergola. | – Inspect roof beams for damage. – Reinforce roof support beams if necessary before installation. |
| Signs of Roof Damage | Look for cracks, leaks, or sagging beams that could compromise the roof’s strength. | – Consider repairing or replacing damaged roof sections. – If unsure, consult a structural engineer. |
| Weight Distribution | Distribute the weight of the pergola evenly to avoid overloading any single point on the roof, particularly on flat roofs. | – Spread out posts evenly. – Avoid clustering posts too closely together to balance the load. |
| Importance for Flat Roofs | Flat roofs can cause concentrated weight stress due to lack of slope, which is why proper weight distribution is crucial. | – Install additional posts for better weight distribution. – Ensure that posts are spaced to avoid stressing any part of the roof. |
| Use of Reinforced Fasteners | Strong, high-quality fasteners like heavy-duty bolts and screws are necessary to ensure long-term stability. Use stainless or galvanized steel for rust prevention. | – Opt for stainless steel or galvanized fasteners. – Avoid using low-quality hardware, which can lead to rusting and instability over time. |
| Why Reinforced Fasteners Matter | Reinforced fasteners prevent rust and deterioration, ensuring the pergola stays securely in place, even under harsh weather conditions. | – Regularly check the fasteners for any signs of corrosion or wear. – Always replace rusted or damaged hardware immediately to avoid accidents. |
Weatherproofing Your Pergola Attachment
Given that a pergola is exposed to the elements, it’s crucial to weatherproof both the pergola and the attachment points. Proper weatherproofing can ensure the longevity of your structure and protect it from the harsh effects of rain, wind, and UV rays.
Choosing Weather-Resistant Materials
Select materials that are resistant to weathering, such as treated wood or metals that won’t rust easily. Aluminum, for example, is a great choice because it’s lightweight, durable, and resistant to corrosion. Wood should be treated with water-repellent stains to prevent rot.
Sealing the Attachment Points
Use high-quality sealants around the drilled holes and attachment points to prevent water from seeping in. A good sealant will block moisture, reducing the risk of damage from rain or snow. Be sure to reapply the sealant periodically as part of your regular maintenance routine.
Eco-Friendly Solutions for Attaching a Pergola to a Roof
Eco-conscious homeowners and business owners are increasingly seeking sustainable solutions when adding structures like pergolas to their properties. Fortunately, there are many ways to reduce your environmental impact while still achieving a stylish and functional outdoor space.
Recycled Materials
Consider using recycled materials such as reclaimed wood or repurposed metal for your pergola structure. This not only reduces waste but can also lend a rustic, unique look to your pergola. Using recycled materials is an excellent choice for both residential and commercial properties that want to show environmental responsibility.
Sustainable Mounting Hardware
Opt for sustainable materials for the hardware used to attach your pergola, such as stainless steel or eco-friendly treated wood. Avoid using plastic or other non-recyclable materials that will contribute to waste.
Eco-Friendly Sealants and Finishes
Use non-toxic, biodegradable sealants and finishes to treat the pergola. This ensures that you’re not releasing harmful chemicals into the environment while still maintaining the pergola’s weatherproofing.
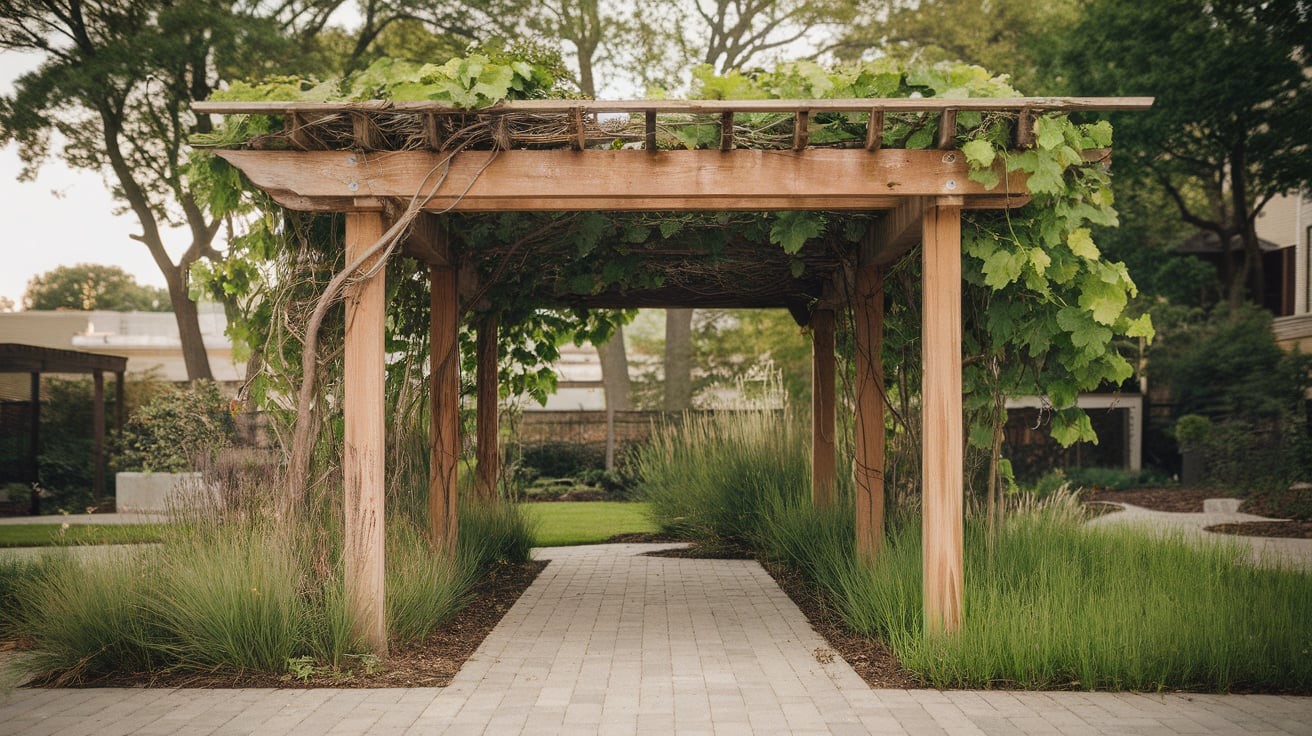
A pergola made from reclaimed wood with eco-friendly sealant applied
Costs and Budgeting for Pergola Installation
When attaching a pergola to your roof, it’s essential to consider both material and installation costs to ensure you stay within your budget. The overall cost can vary depending on the complexity of the installation, the materials used, and whether you opt for professional assistance.
Material Costs
Pergola materials can vary greatly depending on the type of wood, metal, or other materials you choose. Wood pergolas tend to be less expensive than metal ones, but they require more maintenance. Aluminum and steel offer durability and low maintenance but come at a higher upfront cost.
Installation Costs
If you’re hiring a professional, expect to pay anywhere between $1,000 and $3,000 for a high-quality pergola installation, depending on the roof type and the complexity of the design. DIY installation can save you money, but it’s important to factor in the cost of tools and materials.
Hidden Costs
Other hidden costs might include permits, structural reinforcements, or additional materials like weatherproofing sealants and mounting hardware. Be sure to plan for these extras to avoid surprises during the project.
| Cost Factor | Details | Estimated Cost | Tips for Managing Costs |
| Material Costs | The cost of materials varies based on the type of pergola you choose (wood, metal, or composite). Wood is cheaper but requires more maintenance, while metal options are durable but more expensive. | – Wood Pergola: $15 – $30 per square foot. – Aluminum Pergola: $25 – $50 per square foot. – Steel Pergola: $30 – $60 per square foot. | – Consider long-term maintenance when choosing materials. – Choose treated wood for lower maintenance if you opt for wood. |
| Wood Pergola | Wood is the most affordable option, but it requires regular maintenance such as staining and sealing. | Typically cheaper, with higher long-term costs for upkeep. | – Look for pressure-treated wood to reduce maintenance costs. – Stain and seal annually to prolong lifespan. |
| Metal Pergola (Aluminum/Steel) | Metal pergolas offer strength and durability, requiring less maintenance, but at a higher initial cost. | More expensive upfront but lower maintenance costs in the long run. | – Opt for aluminum if you want lower maintenance and resistance to rust. – Steel offers more durability, but is heavier and pricier. |
| Installation Costs | Hiring professionals can significantly increase the cost, with rates varying depending on the roof complexity and pergola size. DIY options are more affordable but require time and skill. | – Professional Installation: $1,000 – $3,000. – DIY Installation: Cost of materials + tools (~$500 – $1,500). | – If opting for DIY, factor in tools and any potential learning curves. – Professional installation is ideal for complex roofs. |
| Hidden Costs | Beyond the materials and installation, there may be hidden costs like permits, reinforcements, or additional materials such as weatherproofing and mounting hardware. | – Permits: $50 – $200 (depending on local regulations). – Reinforcements: $200 – $500. – Mounting Hardware: $50 – $200. | – Always check local building codes to account for permit costs. – Plan for possible structural reinforcements if your roof needs extra support. |
Benefits of Adding a Pergola to Your Roof
Attaching a pergola to your roof offers numerous benefits, from enhancing your outdoor living area to increasing your property’s value. Understanding the advantages of adding a pergola can help you make an informed decision.
Outdoor Living Space
Pergolas create an inviting outdoor space that can be used for dining, entertaining, or simply relaxing. With a pergola, you can create a comfortable outdoor area, even if you have limited space. This can be especially valuable in urban settings where outdoor space is at a premium.
Aesthetic Appeal
A well-designed pergola can add sophistication and style to your property. It can serve as an architectural focal point, enhancing both the appearance of your roof and the overall curb appeal of your home or business.
Increased Property Value
Pergolas are considered a desirable feature by homebuyers, and installing one can increase your property’s value. Whether you plan to sell in the future or simply want to enjoy your enhanced space, a pergola adds value that can pay off in the long run.
Maintaining Your Pergola Over Time
Proper maintenance is essential to ensure your pergola stays looking great and remains structurally sound for years to come. Regular maintenance can prevent weather damage, wear and tear, and help your pergola retain its beauty.
Cleaning
Regularly clean the pergola to prevent the buildup of dirt, debris, and mildew. Depending on the material, you may need to clean it with mild soap and water or use a special wood cleaner.
Weatherproofing
As discussed earlier, weatherproofing your pergola is essential to extend its lifespan. Ensure the sealant remains intact and reapply as needed. Also, check for any signs of damage from rain or snow and address them immediately.
Structural Inspections
Every year, perform a structural inspection of your pergola to ensure that the posts, beams, and mounting hardware are still in good condition. Tighten any loose screws or bolts and replace any corroded parts.
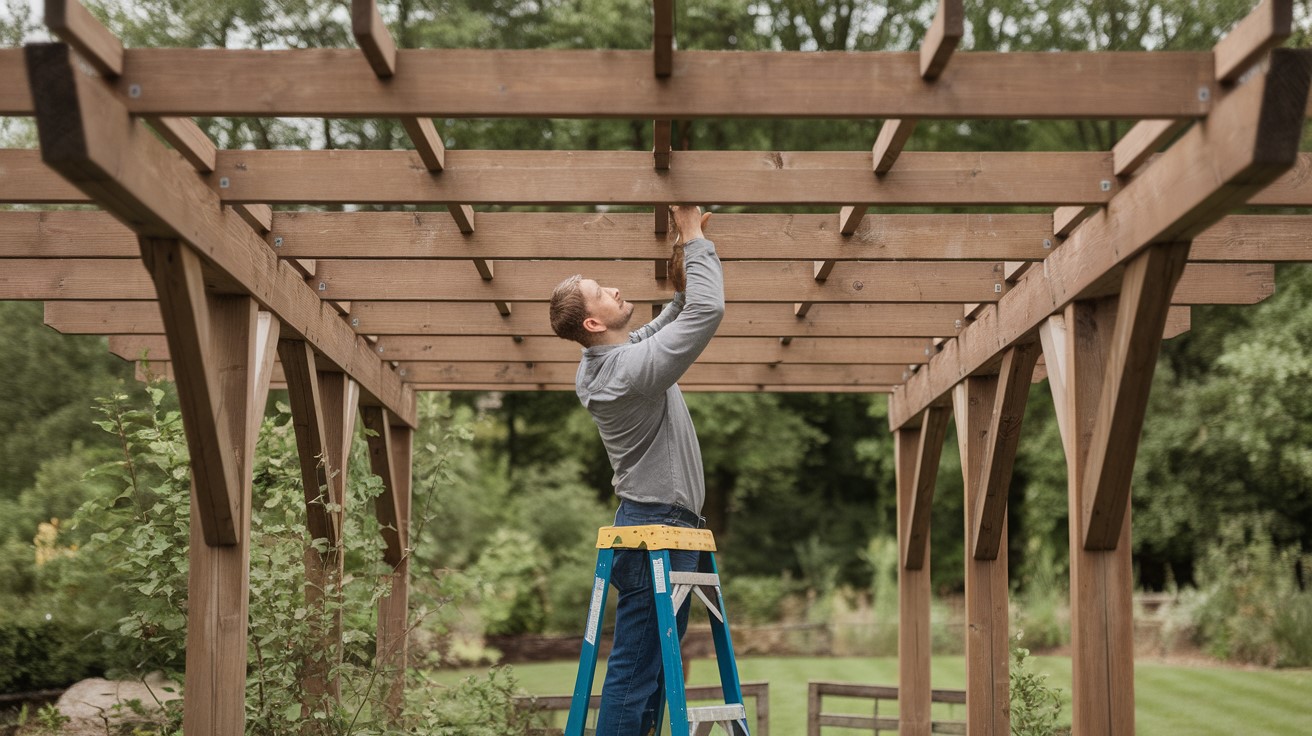
The technician cleaning and inspecting a pergola
Common Mistakes to Avoid When Attaching a Pergola to a Roof
While attaching a pergola to your roof can be a rewarding project, there are common mistakes that many people make during the installation process. Avoiding these errors will save you time, money, and frustration.
Incorrect Measurements
Make sure to double-check your measurements before drilling any holes. Incorrect measurements can lead to misaligned posts and a crooked pergola.
Choosing the Wrong Mounting Hardware
Using the wrong type of mounting hardware for your roof type is a common mistake. Ensure that you choose hardware that is specifically designed for your roof’s structure to ensure a secure attachment.
Skipping Structural Reinforcement
If your roof is not strong enough to support the pergola’s weight, don’t skip the necessary reinforcements. Reinforcing the roof structure may seem like an added expense, but it’s crucial for safety.
Conclusion
Attaching a pergola to a roof doesn’t have to be a complicated or stressful project. By carefully selecting the right materials, following a clear step-by-step process, and taking safety and weatherproofing into consideration, you can create a beautiful, functional, and long-lasting outdoor space. Whether you’re working on a residential property or a commercial setting, the benefits of adding a pergola are undeniable.
Frequently Asked Questions
What is the best method for attaching a pergola to a flat roof?
L-brackets are an ideal solution for flat roofs, offering a secure base for pergola posts.
Can I attach a pergola to a pitched roof?
Yes, post anchors are a great option for securely attaching a pergola to pitched roofs.
How do I weatherproof the pergola attachment?
Use weather-resistant materials for both the pergola and mounting hardware and apply sealant around attachment points to protect against moisture.
Is DIY installation of a pergola recommended?
DIY installation is a great option for those with some experience. However, if you’re unsure about the roof’s structural integrity, consider hiring a professional.
What eco-friendly materials can I use for my pergola?
Recycled wood, treated lumber, and stainless steel are all excellent sustainable materials for both the pergola and mounting hardware.
How much does it cost to attach a pergola to a roof?
Costs vary depending on the materials, complexity of installation, and whether you choose DIY or professional installation. Expect to spend anywhere from $500 to $2,000 or more.

Robert Martin is a passionate blogger and versatile content creator exploring the intersections of personal finance, technology, lifestyle, and culture. With a strong background in financial literacy and entrepreneurship, he helps readers make smarter money moves, build sustainable side hustles, and achieve financial independence.
Beyond finance, Robert shares his insights on home decor and gardening—offering practical ideas for creating beautiful, functional living spaces that inspire comfort and creativity. He also dives into the dynamic worlds of sports and celebrity news, blending entertainment with thoughtful commentary on trends that shape today’s pop culture.
From decoding the latest fintech innovations to spotlighting everyday success stories, Robert delivers content that’s informative, relatable, and actionable. His mission is to empower readers to live well-rounded, financially confident lives while staying inspired, informed, and ahead of the curve.

