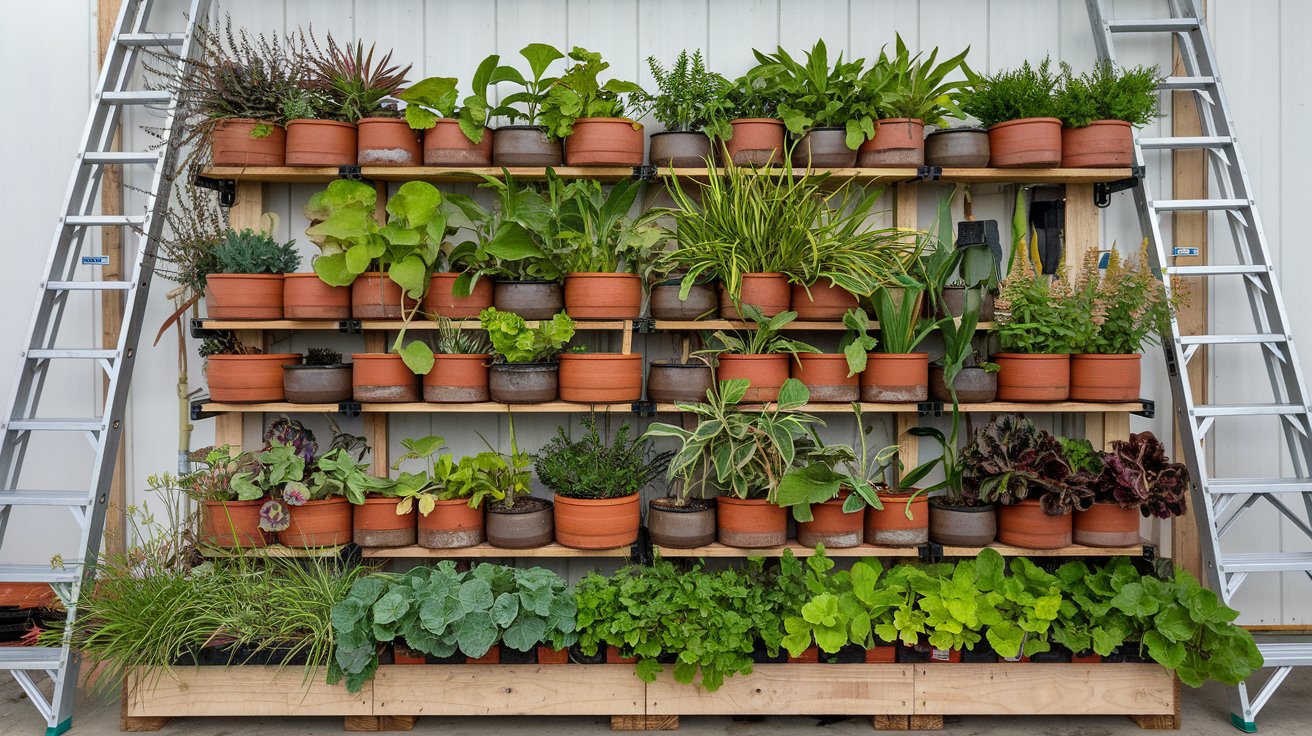
When I first decided to start gardening, I quickly realized that raised bed garden design was the key to transforming my outdoor space into a organized garden. As a beginner, the idea of managing soil, plants, and pests seemed overwhelming. But then, I came across a quote that really resonated with me:
“The best time to plant a tree was 20 years ago. The second best time is now.”
It reminded me that it’s never too late to start, and with a bit of planning and patience, anyone can create a garden that produces beautiful results. My journey into raised bed gardening has been incredibly rewarding, and I want to share everything I’ve learned along the way in The Ultimate Guide to Raised Bed Garden Design: From Planning to Planting.
The right materials and soil mix to determining the perfect layout for your plants, this guide will walk you through each step. One piece of advice I’d give based on my experience is to invest time in thoughtful planning at the beginning.
Understanding your garden’s needs, considering factors like sunlight and drainage, and designing with purpose can save you time and frustration later. Raised bed gardens not only help maximize space but also provide better control over soil quality and water retention, making them an ideal solution for both beginners and seasoned gardeners alike. If you’re looking to create a productive and beautiful garden, this guide is for you.
Reading Time: 30 Minutes
Table of Contents
Introduction to Raised Bed Gardening
What is a Raised Bed Garden?
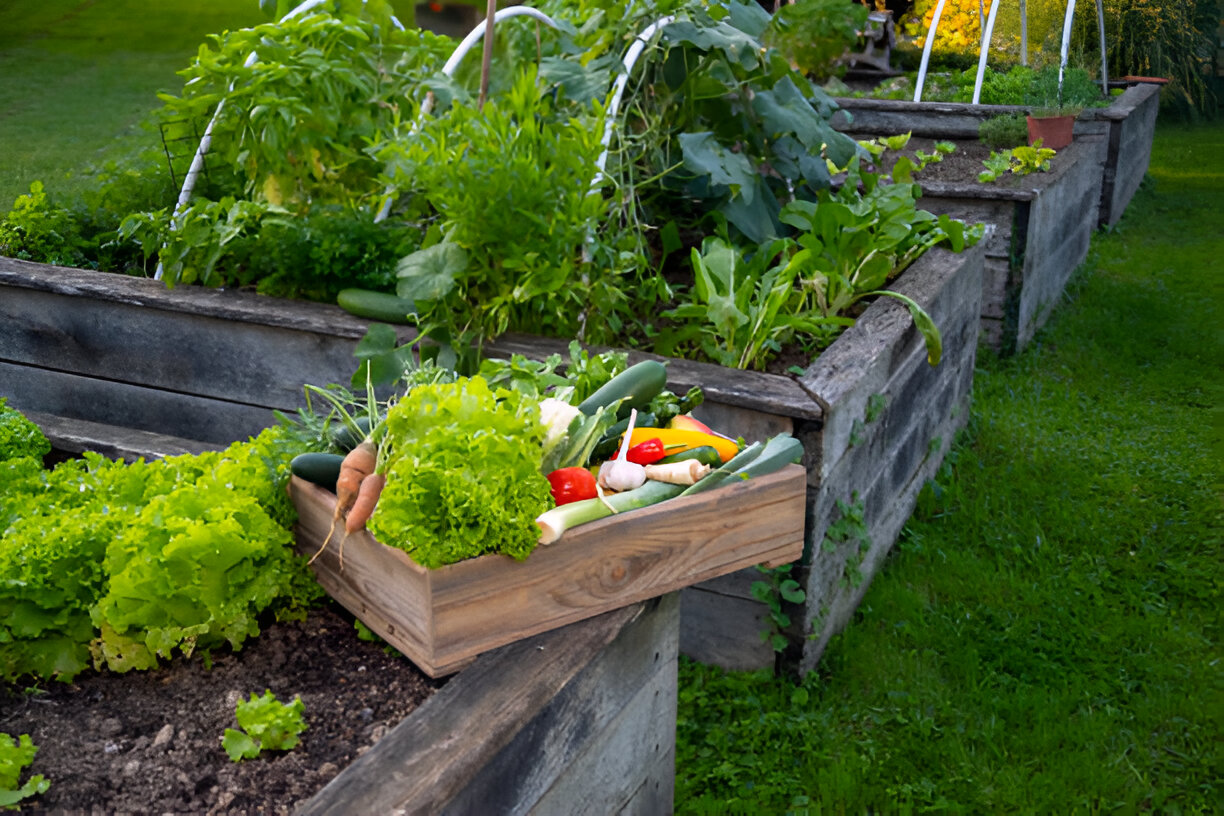
A raised bed garden is a garden that is planted in soil that is elevated above the ground level. These beds can be constructed from a variety of materials, including wood, metal, and stone, and they come in various shapes and sizes. The primary purpose of a raised bed garden is to provide better control over the soil quality, drainage, and overall growing conditions. The gardeners can create an environment that promotes healthier plant growth, minimizes soil compaction, and reduces the risks associated with soil-borne diseases by raising the soil level.
Benefits of Raised Bed Gardening
The benefits of Raised bed gardening are numerous and appealing.
- The raised beds allow for better soil control. Gardeners can customize the soil mix to suit the needs of their plants, ensuring optimal nutrient availability.
- Improved drainage is another significant advantage; raised beds prevent waterlogging, which can harm root systems.
- The raised beds make gardening easier on the back and knees, providing a comfortable working height. This accessibility is especially beneficial for elderly gardeners or those with mobility issues.
- The raised beds can extend the growing season. The soil in raised beds warms up quicker in the spring and retains heat longer in the fall, allowing gardeners to plant earlier and harvest later.
- Raised beds also make it easier to control weeds and pests, as the defined boundaries can deter some unwanted visitors.
- They add an aesthetic appeal to your garden, creating neat, organized spaces that are visually pleasing.
Planning Your Raised Bed Garden
Choosing the Right Location
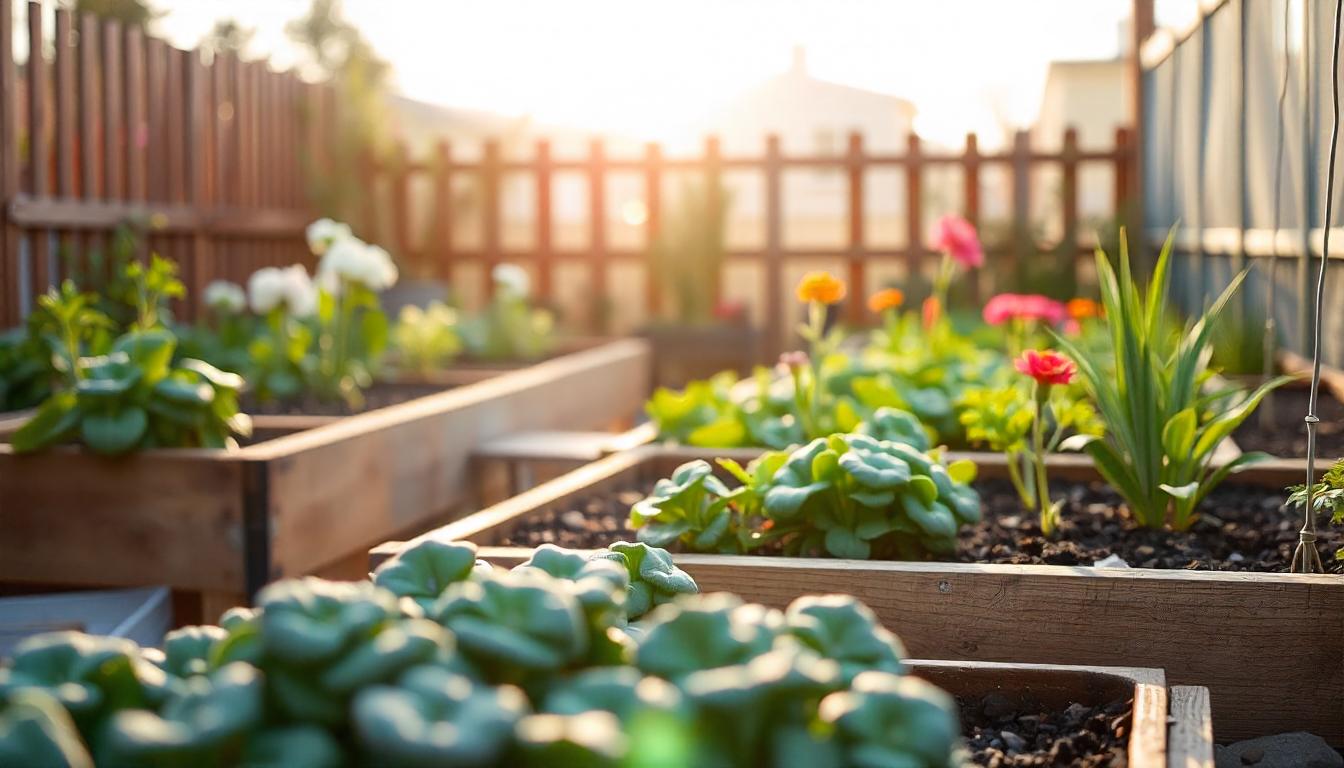
Look for an area that receives ample sunlight, ideally at least six to eight hours of direct sunlight each day. This is especially important for sun-loving crops like tomatoes and peppers. Having easy access to water will make it more convenient to keep your plants hydrated, especially during dry spells.
Drainage is another critical factor. Avoid low-lying areas where water tends to pool, as this can lead to waterlogged soil and root rot. Instead, select a level area with good drainage. If your garden area has heavy clay soil, you may want to consider constructing your raised beds in a more elevated position or amending the soil to improve drainage.
Ensure that there is enough space to move around the beds comfortably, allowing for easy maintenance and harvesting. If you plan to use tools or wheelbarrows, leave pathways between beds to facilitate movement. You can set the stage for a successful raised bed garden by carefully considering your location.
Determining Size and Layout
Deciding on the size and layout of your raised beds is vital for achieving a productive garden. Ideally, raised beds should be three to four feet wide, allowing you to easily reach the center from either side without stepping into the bed. This width promotes good air circulation and makes it easier to tend to your plants. The length of the beds can vary based on your available space and design preferences, but keeping them manageable is key.
The height of your raised beds is another important consideration. A height of 18 to 24 inches is typically recommended, as it provides ample room for root growth while making it easier to access plants without straining your back. If you’re gardening in a climate with particularly harsh winters, you may want to consider slightly deeper beds to protect your plants’ roots from freezing temperatures.
While planning your layout, remember to leave enough space between beds for pathways. This will allow you to move freely without compacting the soil and will help with air circulation. You can create straight rows, a grid pattern, or even curved beds for a more organic look. Visualizing your garden layout before you start building can help you make the most of your space and ensure a productive planting arrangement.
Creating a Garden Blueprint
Creating a garden blueprint is a smart step that can significantly enhance the success of your raised bed garden. Using graph paper or garden planning software, sketch out your garden layout, including the dimensions of each bed and the spacing between them. This blueprint will serve as a roadmap for your gardening endeavors.
As you create your blueprint, consider the specific needs of the plants you intend to grow. Different vegetables have varying spacing requirements, so take note of how much room each plant will need at maturity. For instance, large plants like tomatoes and zucchini will require more space than smaller crops like radishes or lettuce. Additionally, think about companion planting strategies. Certain plants thrive when grown together, while others may compete for resources or attract pests. Incorporating companion planting into your design can lead to a healthier garden overall.
Don’t forget to plan for your irrigation system as well. Whether you opt for drip irrigation, soak hoses, or traditional watering methods, ensure that your blueprint accommodates these systems to facilitate easy watering. If space allows, you might also consider incorporating vertical gardening elements, such as trellises or hanging planters, to maximize your growing area. You can set yourself up for a productive and visually appealing raised bed garden by thoughtfully planning your garden blueprint.
Choosing Materials for Your Raised Beds
Wood Options
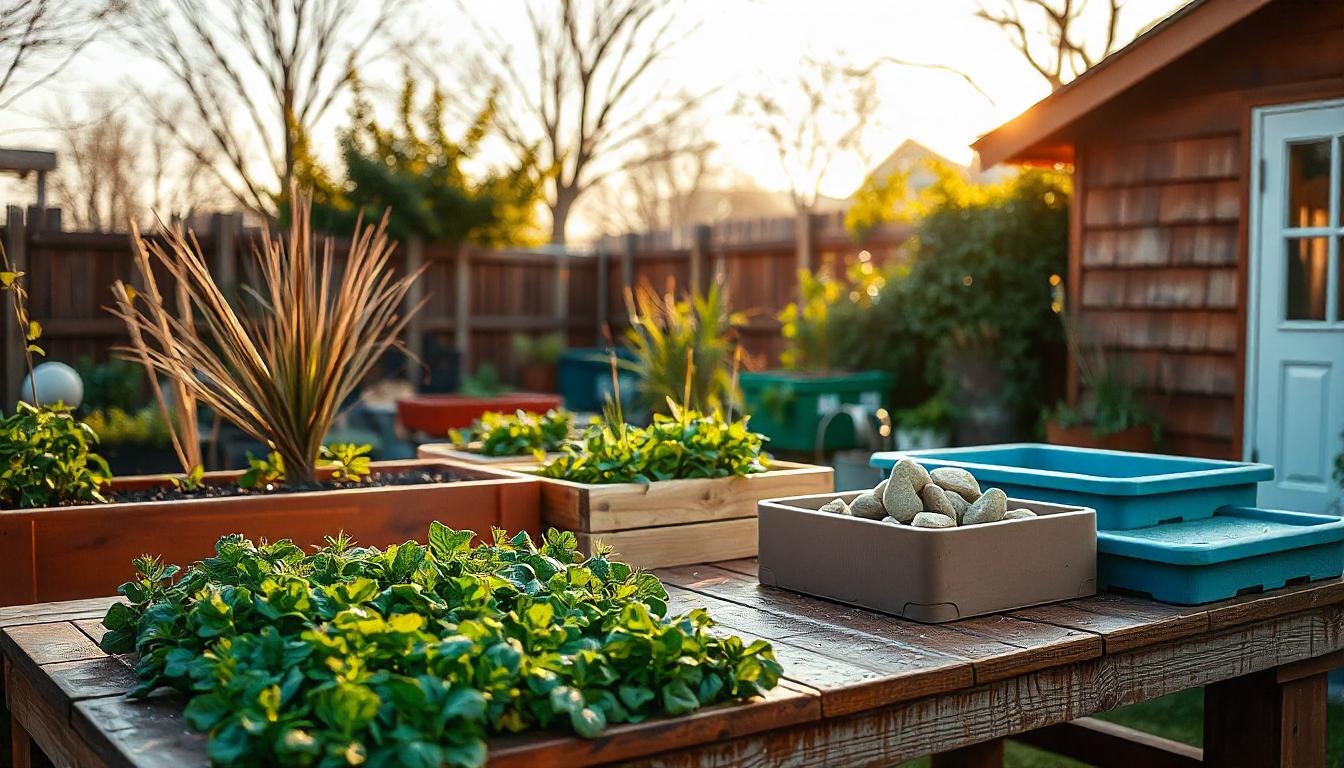
When it comes to building raised beds, the choice of materials can greatly influence both the appearance and longevity of your garden. Wood is a popular choice due to its natural aesthetic and ease of use. Cedar and redwood are excellent options because they are naturally rot-resistant and can withstand the elements for many years. These woods not only provide durability but also add a warm, rustic charm to your garden.
For those who prefer a more budget-friendly option, untreated hardwoods can also be used, although they may not last as long as cedar or redwood. It’s essential to avoid using pressure-treated wood for edible gardens, as the chemicals used in treatment can leach into the soil and pose health risks. If you do choose to use pressure-treated wood, make sure it is safe for gardening and that you line the inside of the bed with a barrier to protect the soil.
Wooden raised beds can be constructed in various shapes and sizes, allowing for flexibility in design. However, it’s crucial to keep in mind that untreated wood may need to be replaced more frequently than treated options. Regular maintenance, such as sealing or staining, can help extend the life of your wooden beds and keep them looking great.
Metal and Stone Options
If you’re looking for something a bit more contemporary or durable, metal and stone options are excellent alternatives for raised beds. Corten steel is a popular choice among gardeners for its modern aesthetic and robust construction. This type of steel develops a rust-like patina overtime that not only adds visual interest but also protects the metal from further corrosion. Metal beds can be particularly advantageous in areas with limited soil quality, as they can help create a controlled growing environment.
Concrete blocks are another durable option and can be used to create functional raised garden beds. They offer excellent insulation for plant roots and can be arranged in various configurations. Plus, the hollow centers of the blocks can be filled with soil to create additional planting space or used to support vertical gardening elements.
Stone or brick beds add a timeless and elegant touch to any garden. While they may require more labor to construct, they can last for decades and provide a natural aesthetic that blends seamlessly with the landscape. The key advantage of using stone or brick is their permanence, as they won’t warp or deteriorate like wood, making them a worthwhile investment for serious gardeners.
Composite Materials
For environmentally conscious gardeners, composite materials represent an innovative alternative to traditional wood. Made from recycled plastics and wood fibers, composite materials are designed to look like wood while offering superior durability and resistance to rot, insects, and weathering. They come in various colors and styles, allowing for creative freedom in garden design.
One of the significant benefits of using composite materials is their low maintenance requirements. Unlike wood, which may need to be sealed or stained regularly, composite materials are virtually maintenance-free. They do not splinter or warp, making them safe for gardening and easy on the hands. However, it’s essential to ensure that any composite material you choose is safe for growing food, as some cheaper options may contain harmful chemicals.
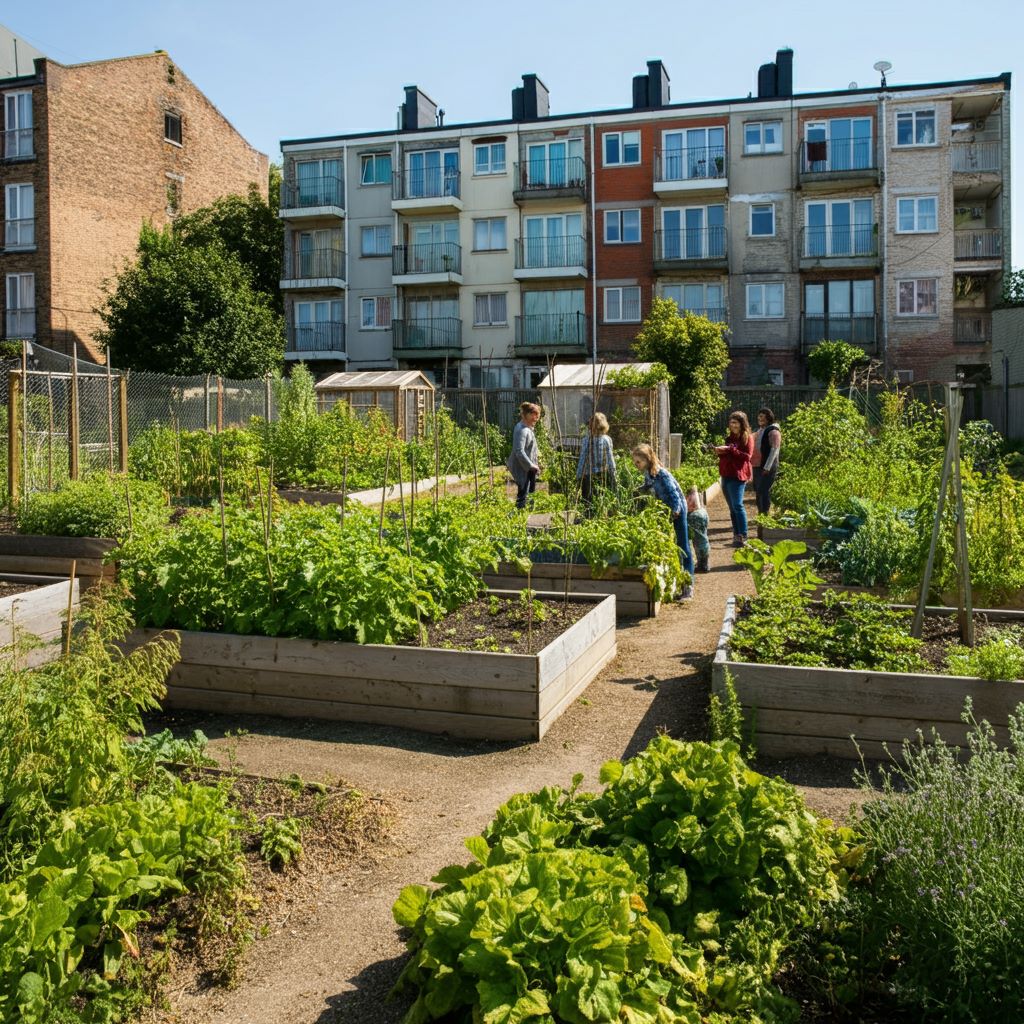
Composite raised beds can be constructed similarly to wooden beds and offer the same versatility in design. They are particularly well-suited for urban gardens and small spaces, where aesthetics and functionality are essential. The composite materials are an excellent choice for gardeners looking for a sustainable and long-lasting solution for their raised beds.
Building Your Raised Bed
Step-by-Step Construction Guide
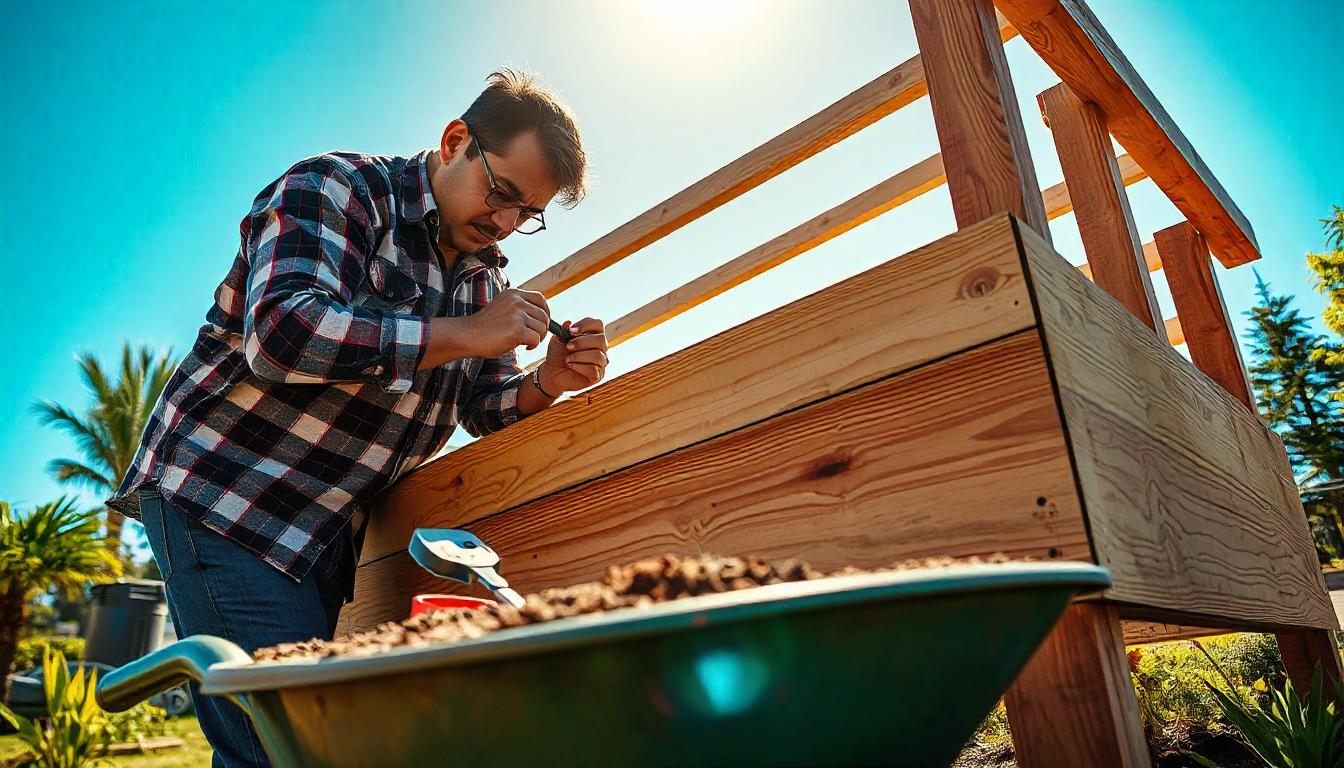
Building your raised bed is a rewarding project that allows you to tailor your gardening space to your specific needs. Here’s a step-by-step guide to help you through the process.
- Prepare the ground:
The first and most critical step is preparing the ground where the bed will be constructed. Proper ground preparation ensures a stable base for the raised bed and supports healthy plant growth. The process begins by clearing the area where you plan to build the raised bed. Start by choosing a flat, well-drained spot in your garden. It’s essential to pick a location that receives adequate sunlight, as most vegetables and flowers thrive with at least six hours of sunlight each day.
Once you’ve chosen the location, the next step is to remove any grass or weeds. Grass is one of the main culprits in inhibiting plant growth because it competes with your crops for water, nutrients, and space. Removing the grass is especially important because, if left unchecked, it can quickly invade your raised bed, undermining its effectiveness. To remove the grass, use a shovel, hoe, or garden spade to cut through the roots and remove the top layer of sod. You’ll need to ensure that you’re removing all the roots, as any remaining sections can regenerate and grow back, making the process less effective.
It’s also important to check for any other obstacles that could affect the stability or construction of your raised bed. These might include rocks, large roots, or other debris in the soil that can make it difficult to level the bed. Once these are removed, you’ll have a clean and clear space in which to build.
In some cases, gardeners may also choose to lay down a weed barrier such as landscape fabric, cardboard, or newspaper before placing the bed. This step can help prevent weeds from growing up through the soil once the raised bed is in place. The weed barrier acts as an additional safeguard, ensuring that the plants in your raised bed aren’t competing with unwanted vegetation.
Clearing the area is the foundation of any raised bed project. Weeds, and debris, you’re setting yourself up for success in creating a thriving garden by ensuring the ground is free from grass.
- Assemble the frame:
Assembling the frame of your raised garden bed is the next step after preparing the ground. The frame will provide the structure for your garden and hold the soil in place, so it’s important to make sure it is both sturdy and well-constructed. The materials you choose for your raised bed frame will determine the assembly process, so it’s important to select the right materials for both durability and aesthetics. Common materials used for raised bed frames include wood, metal, and stone, each with its own set of assembly requirements.
If you are using wood for your raised bed, start by cutting the pieces of lumber to the desired lengths. The size of the frame will depend on the available space in your garden and the crops you plan to grow. A typical raised bed is usually 4 feet wide (to allow easy access to the center from both sides) and can be as long as you wish, depending on the available area. The height of the frame is typically between 12 and 18 inches, although this can be adjusted depending on the needs of your plants. Once the pieces are cut, the next step is to assemble the frame.
Use wood screws to secure the corners of the bed, ensuring the frame is square and sturdy. You may want to drill pilot holes first to prevent the wood from splitting. Reinforce the corners with additional screws or brackets to add extra strength, especially if the bed will hold a significant amount of soil.
The assembly process will be slightly different for metal as your frame material. Metal frames often come with pre-cut pieces or panels that need to be bolted together. Follow the manufacturer’s instructions carefully to ensure that the frame is assembled correctly and securely. Many metal frames use heavy-duty galvanized steel or other rust-resistant materials, which provide excellent durability and longevity. As with wood, it’s crucial to check that the frame is level and square during assembly to prevent any structural issues once the bed is filled with soil.
Stone or brick can be used to build a raised bed for those who prefer a more natural or permanent structure. Stone beds are often stacked and held in place by their own weight, but it’s still important to ensure that the stones are evenly aligned and level to create a stable base. Dry-stacking stone or brick can take some time and patience, but the end result is both durable and aesthetically pleasing.
Whichever material you choose, assembling a solid and level frame is key to ensuring the longevity and stability of your raised bed. Once the frame is in place, you’ll have a secure structure that can hold soil, water, and plants—allowing you to create a thriving garden in your chosen space.
- Install hardware cloth for pest prevention:
It’s important to take steps to prevent pests from invading your raised garden bed to ensure the health and safety of your plants. One effective method is to install hardware cloth or wire mesh at the bottom of the bed. This step is particularly crucial for preventing pests like gophers, moles, and voles from burrowing into the soil and damaging the roots of your plants. These small, burrowing animals can quickly undermine your efforts by eating the roots of vegetables or flowers, stunting their growth or even killing them. By installing a layer of hardware cloth, you create a physical barrier that keeps these pests out while still allowing essential functions like water drainage.
Hardware cloth, a type of wire mesh with small openings, is ideal for this purpose because it is sturdy, durable, and can withstand the elements. You can typically find hardware cloth in various gauges and mesh sizes, but for most raised bed applications, a 1/4-inch mesh size is ideal. This size is small enough to block even the smallest of burrowing pests while still allowing water and air to pass through freely. The cloth is usually sold in rolls, making it easy to cut to the dimensions of your raised bed.
Start by laying it flat on the bottom of your raised bed frame before adding any soil to install the hardware cloth. Measure the dimensions of the bed to ensure you have enough cloth to cover the entire bottom. Once cut to size, simply staple or nail the hardware cloth securely to the inside of the bed frame. You may want to fold the edges of the cloth up along the sides of the bed slightly to create a continuous barrier that fully protects the soil from pests. If you are concerned about critters burrowing from the sides as well, you can extend the mesh a few inches up the sides of the bed.
It’s important to ensure that it does not impede proper drainage to prevent pests. After you place the cloth, make sure there are no folds or gaps that could hold/store water. Drainage is key to maintaining healthy soil, so the cloth should allow water to pass through without causing waterlogging. One way to check this is by adding a small amount of water to the soil after the cloth is in place and observing if it drains properly.
In addition to protecting against burrowing pests, using hardware cloth at the bottom of your raised bed can also help prevent weeds from growing up through the soil. By creating a barrier between the soil and the ground beneath, you reduce the likelihood of weed seeds taking root. This means less maintenance for you in the long run, allowing you to focus on growing your plants instead of constantly weeding.
Installing hardware cloth is a simple yet highly effective way to safeguard your plants from pests while maintaining a healthy growing environment. With this added layer of protection, you can rest assured that your raised bed will be free from the threat of burrowing animals and that your plants will have a better chance of thriving.
- Add drainage layer:
Proper drainage is crucial for the success of your raised garden bed, especially in regions that experience heavy rainfall or have soil that tends to retain moisture. Without good drainage, water can accumulate at the bottom of the bed, leading to waterlogged soil, which in turn can cause root rot and other plant diseases. To address this issue, adding a drainage layer at the bottom of the raised bed can significantly improve water flow and ensure that your plants’ roots stay healthy.
The most effective way to create a drainage layer is by using coarse gravel, small stones, or sand. These materials allow water to pass through freely while preventing the soil from washing away. Coarse gravel is particularly beneficial because its larger particles create spaces between them, providing a clear path for excess water to drain. This helps to avoid the waterlogging that can occur in fine soil or in raised beds without proper drainage. Sand can also be used in a similar manner, though it is typically not as effective as gravel in larger quantities.
Begin by laying a thick layer of coarse gravel or sand directly on the bottom of the raised bed frame to add the drainage layer. The thickness of the layer can vary, but a good rule of thumb is to aim for at least 2 to 4 inches, depending on the size of the bed and the local rainfall conditions. After laying the drainage material, cover it with a permeable fabric or landscaping cloth. This will prevent the soil from mixing with the gravel or sand while still allowing water to pass through.
It’s important to note that while adding a drainage layer can be helpful, it’s not always necessary in every garden. In regions with well-draining soil, the natural drainage may be sufficient. However, for those living in areas with heavy clay soil or frequent rain, this step becomes more critical. Without proper drainage, the water that accumulates in the bed can create an anaerobic environment where plant roots struggle to breathe, and over time, this can lead to stunted growth or even plant death.
The gravel or sand layer also serves as a buffer between the soil and any potential pests or weeds below. It acts as a barrier that keeps burrowing animals out while providing extra space for air and water to circulate. It’s a small but effective improvement that can make a big difference in the overall health of your garden.
Your raised bed is an excellent way to promote healthy root growth and prevent issues related to waterlogged soil. It’s a simple yet effective step that improves drainage, protects your plants from excess moisture, and ensures that your raised bed remains an optimal environment for growing.
- Fill with soil mix:
After completing the frame of your raised bed, the next step is to fill it with a well-balanced soil mixture that will provide the necessary nutrients and support for plant roots. The soil you use should not only be rich in nutrients but also well-draining, allowing water to flow freely and preventing waterlogging, which can lead to root rot.
A good soil mix for raised beds typically consists of three main components: topsoil, compost, and organic matter.
Topsoil serves as the base of the mix and provides the bulk of the structure. However, not all topsoil is created equal, so it’s essential to choose high-quality soil that is free from contaminants or excessive clay.
Compost is an excellent addition because it improves soil fertility, adds valuable nutrients, and helps to maintain moisture levels. It also helps to improve the texture of the soil, making it looser and better aerated, which allows plant roots to grow more easily.
Organic materials such as well-rotted manure, peat moss, or leaf mold. These materials further enhance the soil’s ability to retain moisture, improve its structure, and provide additional nutrients over time. The ideal soil mix should be rich in organic matter, which encourages beneficial microbial activity in the soil, promoting healthier plants and better yields.
It’s essential to aim for a depth of at least 12 inches of soil, though this can vary depending on the types of plants you plan to grow. For most vegetables, 12 inches is sufficient for their root systems to establish and grow effectively. If you are planting deeper-rooted crops like carrots or potatoes, you may want to add more depth to the soil to accommodate their growth. It’s also important to leave some space at the top of the bed (about 2-3 inches) to allow for water retention and prevent soil from spilling over the sides during watering.
Ensure that you spread the soil evenly across the surface. It may settle over time, so you might need to add a bit more soil later to bring it back up to the desired level. When filling the bed, it’s also a good idea to mix the different components of the soil thoroughly to ensure a consistent texture and nutrient distribution throughout the bed.
You’re well on your way to creating a blooming garden once your raised bed is filled with the right soil mix. This nutrient-rich soil provides an excellent foundation for your plants, giving them the best possible start for healthy growth. Whether you’re growing vegetables, herbs, or flowers, the right soil will make a significant difference in the success of your garden.
DIY vs. Pre-made Options
You may find yourself weighing the pros and cons of building your own beds versus purchasing pre-made kits. DIY building offers the advantage of customization; you can select the materials, dimensions, and design that best suit your space and preferences. This approach often allows for cost savings, especially if you have access to reclaimed materials.
On the other hand, pre-made raised bed kits can save you time and effort. These kits typically come with all the necessary materials and instructions, making them ideal for beginners or those who prefer a hassle-free option. Many kits are made from durable materials and are designed to be easy to assemble, often requiring minimal tools.
The choice between DIY and pre-made options depends on your budget, skill level, and gardening goals. If you enjoy woodworking or have specific design ideas in mind, building your own raised beds can be a fulfilling project. If convenience and ease of installation are priorities, a pre-made kit may be the way to go.
Soil and Filling Your Raised Bed
Choosing the Right Soil Mix
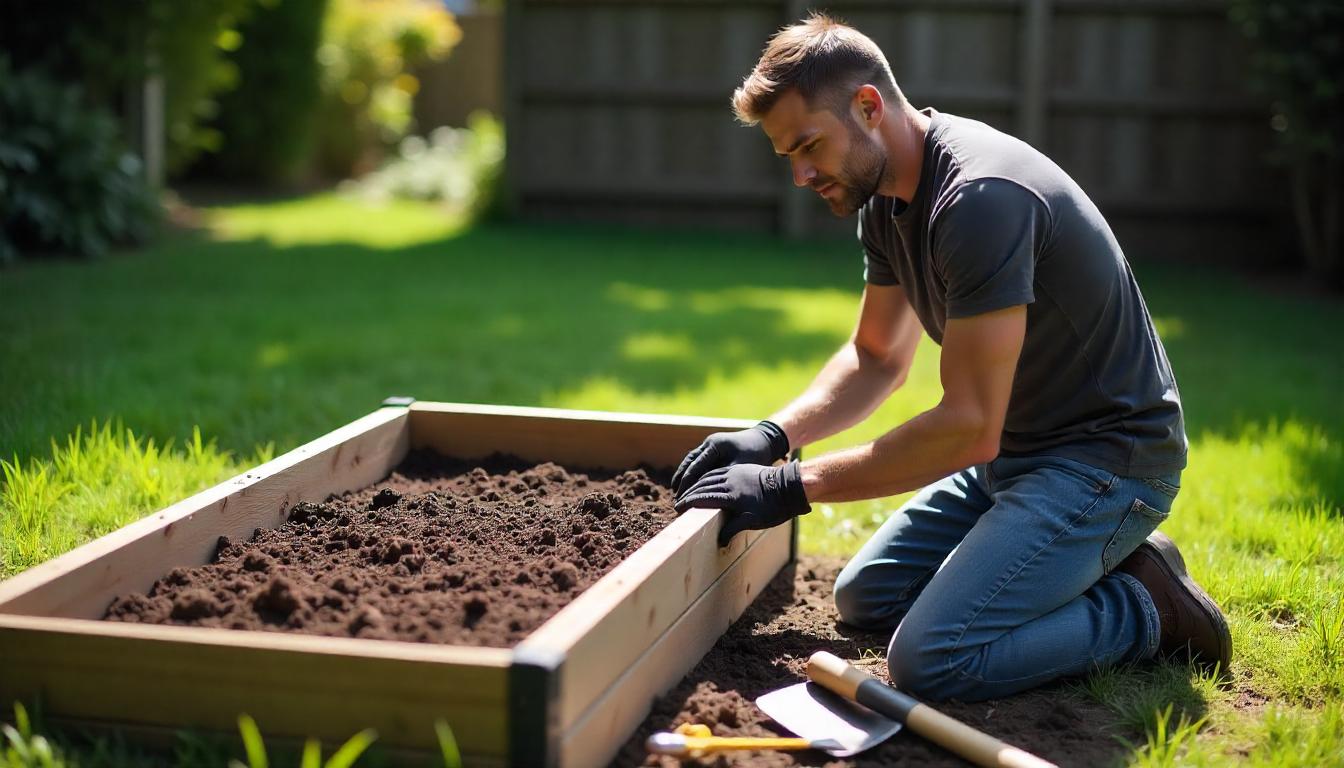
Soil is the lifeblood of your raised bed garden, and selecting the right soil mix is crucial for your plants’ success. A good soil mix will provide essential nutrients, improve drainage, and retain moisture. Generally, a blend consisting of 50-60% topsoil and 40-50% compost is recommended. Topsoil provides a foundational base, while compost enriches the soil with nutrients and beneficial microorganisms.
Ingredients like perlite, vermiculite, or coconut coir can improve aeration and drainage, which are vital for healthy root development. Using a high-quality soil mix specifically designed for raised beds can make a significant difference in plant performance for gardeners in regions with poor native soil.
You understand the nutrient content and pH levels with regularly testing your soil is also important. Soil test kits are widely available and can guide you in making necessary amendments to achieve optimal growing conditions. Over time, you may need to replenish your soil mix with additional compost or other organic matter to maintain soil fertility.
Layering Your Bed
Properly layering your raised bed can optimize drainage and create an ideal growing environment for your plants.
Start with a bottom layer of materials like coarse sand or gravel to facilitate drainage. This layer will prevent water from accumulating at the bottom of the bed, which can lead to root rot and other moisture-related issues.
Add the middle layer, which consists of your main soil mix. This layer should be a well-balanced combination of topsoil, compost, and any additional amendments you’ve chosen. Aim for a depth of at least 12 inches of soil for most vegetables to ensure adequate root space.
Finish with a top layer of fine compost or mulch. This layer not only enhances the soil’s nutrient content but also helps retain moisture and suppress weeds. Organic mulches, such as straw or shredded leaves, can also improve soil structure as they break down over time.
Planting Strategies for Raised Beds
Choosing the Right Plants
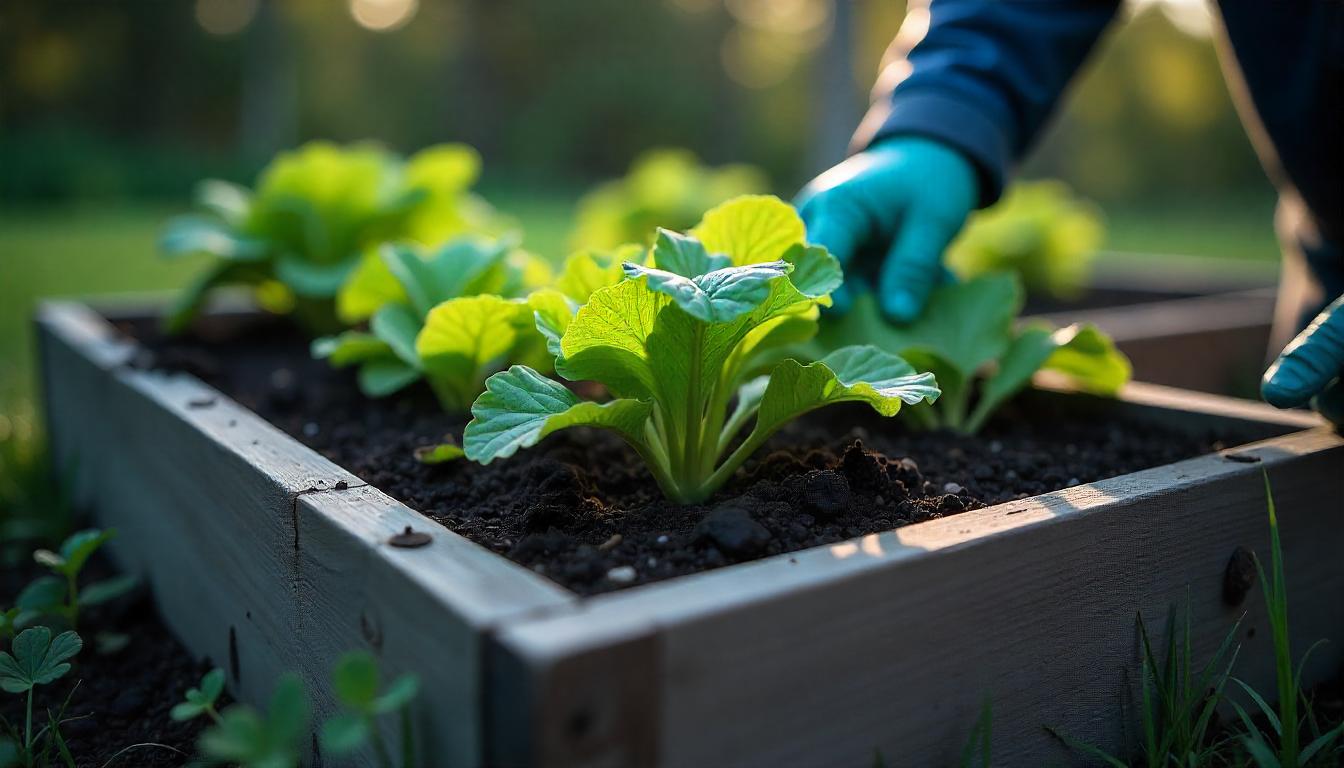
Start by considering your climate and growing zone, as different plants thrive in different conditions. Research the ideal growing conditions for each plant and choose varieties that are well-suited to your environment.
Sunlight requirements should also guide your plant selection. Most vegetables prefer full sun, so be sure to plant accordingly. Additionally, consider the root depth of each plant. Some vegetables, like carrots and potatoes, have deep root systems, while others, like lettuce and radishes, have shallow roots. This knowledge will help you plan your planting arrangement effectively.
Companion planting is another strategy to consider when choosing your plants. Certain plants can benefit each other when grown together, enhancing growth and deterring pests. For example, tomatoes and basil are known to thrive together, as basil can help repel harmful insects. Researching companion planting combinations can help you create a more productive and harmonious garden.
Intensive Planting Techniques
Maximizing space and yields in your raised bed garden can be achieved through intensive planting techniques. One popular method is square foot gardening, which involves dividing your raised bed into square sections and planting a specific number of plants per section based on their size. This approach allows for efficient use of space and can significantly increase your garden’s productivity.
Vertical gardening is another effective technique that can help you make the most of limited space. By using trellises, cages, or hanging planters, you can grow climbing plants like beans, cucumbers, and peas vertically. This not only saves ground space but also improves air circulation around your plants, reducing the risk of disease.
Succession planting is a time-tested method that involves planting new crops as soon as you harvest existing ones. This technique keeps your garden productive throughout the growing season, allowing you to enjoy multiple harvests from the same space. For example, you might plant lettuce in early spring, followed by beans in the same bed once the lettuce is harvested.
Companion Planting
Companion planting is a gardening strategy that involves growing different plants together to enhance growth and deter pests. This ancient practice can lead to healthier plants and improved yields. For instance, certain herbs, like marigolds, are known to repel nematodes and other harmful insects, making them excellent companions for vegetables.
The growth habits and nutrient needs of each plant when planning your companion planting scheme. Deep-rooted plants can help access nutrients from deeper soil layers, while shallow-rooted plants can benefit from the shade and moisture retention provided by their taller companions. For example, growing corn alongside beans and squash (often referred to as the “Three Sisters” in Native American agriculture) creates a mutually beneficial environment.
Additionally, grouping plants with similar water and sunlight requirements can help streamline your watering routine and ensure that all plants thrive. By understanding the relationships between different plants, you can create a more balanced and productive garden ecosystem.
Irrigation and Watering Systems
Efficient Watering Techniques
Watering is a vital aspect of raised bed gardening, and implementing efficient techniques can make a significant difference in plant health and resource conservation. Drip irrigation is one of the most effective methods, delivering water directly to the plant’s root zone while minimizing evaporation and runoff. This system allows for precise control over water application, ensuring that your plants receive the moisture they need without over watering.
Self-watering systems are another great option for busy gardeners or those living in hot, dry climates. These systems typically consist of a reservoir that holds water and a wicking mechanism that draws moisture up to the soil as needed. This method reduces the frequency of watering while ensuring consistent moisture levels in the soil.
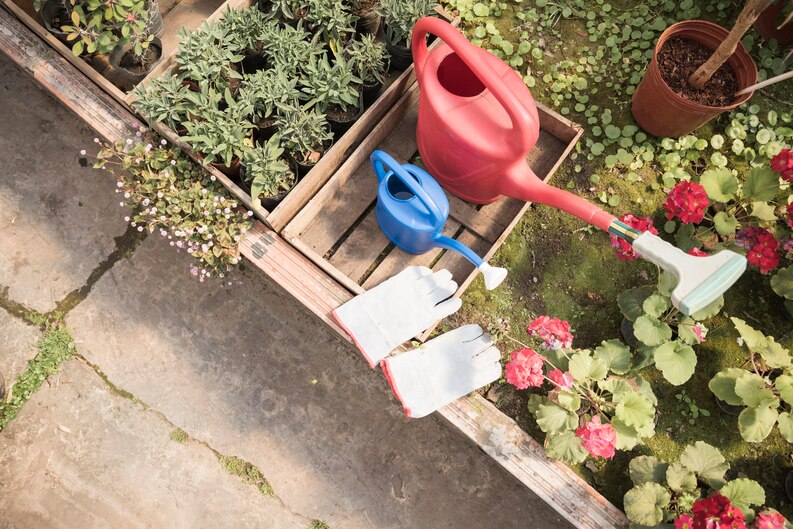
For those who prefer hands-on watering, hand watering can still be effective if done correctly. Use a watering can with a fine spout or a hose with a spray nozzle to deliver water directly to the base of your plants. Aim to water early in the morning or late in the afternoon to reduce evaporation and ensure that your plants have ample time to absorb the moisture before the heat of the day.
Water Conservation Tips
Conserving water while maintaining a healthy garden is essential, especially in areas prone to drought. One effective method is to incorporate mulch into your raised beds. A layer of organic mulch helps retain soil moisture by reducing evaporation and suppressing weed growth. Over time, this mulch will also break down, enriching the soil with organic matter.
Another water conservation technique is to use rain barrels to collect and store rainwater. This harvested rainwater can be used to irrigate your garden, reducing dependency on municipal water sources. Additionally, consider grouping plants with similar watering needs together to streamline your watering routine and minimize waste.
Regularly check your irrigation systems for leaks or inefficiencies. By ensuring that water is applied directly where it is needed, you can maximize the effectiveness of your watering efforts while conserving this precious resource.
Maintenance and Care
Seasonal Care
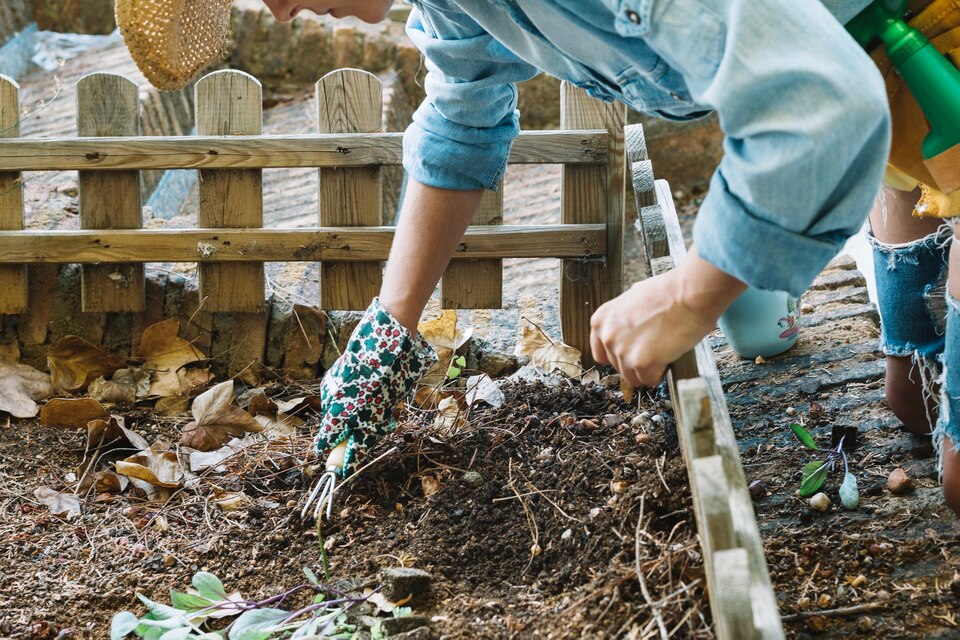
Maintaining your raised bed garden throughout the year is essential for long-term success. Each season presents unique challenges and opportunities for your garden. In the spring, prepare your beds by removing any debris, checking for pests, and refreshing the soil with compost or organic fertilizers. This is also the time to plan your planting schedule and start seeds indoors for early crops.
As summer arrives, focus on watering and weeding. Raised beds may dry out quicker than traditional garden plots, so regular watering is crucial, especially during hot spells. Keep an eye out for weeds, which can compete for nutrients and moisture. Hand-pulling weeds is effective in raised beds, as it minimizes soil disturbance.
In the fall, it’s important to clean up your garden to prevent pests and diseases from overwintering. Remove any dead or diseased plants, and consider planting cover crops to improve soil health over the winter. Cover crops can fix nitrogen in the soil and prevent erosion, setting your garden up for success in the spring.
You may want to cover the beds with a tarp or mulch to prevent freezing and thawing cycles that can disrupt soil structure. Depending on your climate, some gardeners even choose to plant cold-hardy crops, such as kale or spinach, during the winter months.
Pest and Disease Management
Managing pests and diseases is a crucial aspect of maintaining a healthy raised bed garden. Start with preventive measures, such as selecting disease-resistant plant varieties and practicing good sanitation. Regularly inspect your plants for signs of pests or diseases, as early detection is key to effective management.
Companion planting can also play a significant role in pest management. As mentioned earlier, certain plants can deter pests or attract beneficial insects that help control populations. Additionally, introducing beneficial insects, like ladybugs and lacewings, can provide natural pest control.
If you do encounter pests, consider using organic methods for control. For example, insecticidal soap or neem oil can help manage soft-bodied pests like aphids and spider mites. For larger pests, such as rabbits or deer, physical barriers like row covers or fencing can be highly effective.
Healthy soil leads to robust plants that are better equipped to resist pests and diseases. Regularly amend the soil with organic matter and maintain proper watering practices to create a thriving garden ecosystem.
Soil Maintenance
Soil maintenance is a continuous process that directly impacts the health and productivity of your raised bed garden. Regular soil testing is an excellent way to monitor nutrient levels and pH. Many local extension services offer soil testing for a nominal fee, providing valuable insights into what amendments may be necessary.
Adding organic matter is one of the best ways to maintain soil health. Regularly incorporating compost not only adds nutrients but also improves soil structure, aeration, and moisture retention. As crops are harvested, consider planting a green manure or cover crop to add nutrients back to the soil and prevent erosion during the off-season.
Crop rotation is another effective strategy to maintain soil health. By rotating different plant families in your raised beds each year, you can break pest and disease cycles while improving soil fertility. For example, follow nitrogen-fixing legumes with heavy feeders like tomatoes or peppers to maximize nutrient use.
Mulching your beds with organic materials can help retain moisture, suppress weeds, and gradually enrich the soil as the mulch breaks down. A well-maintained soil in your raised beds will lead to more vigorous plants and a bountiful harvest.
Advanced Design Ideas
Vertical Gardening Integration
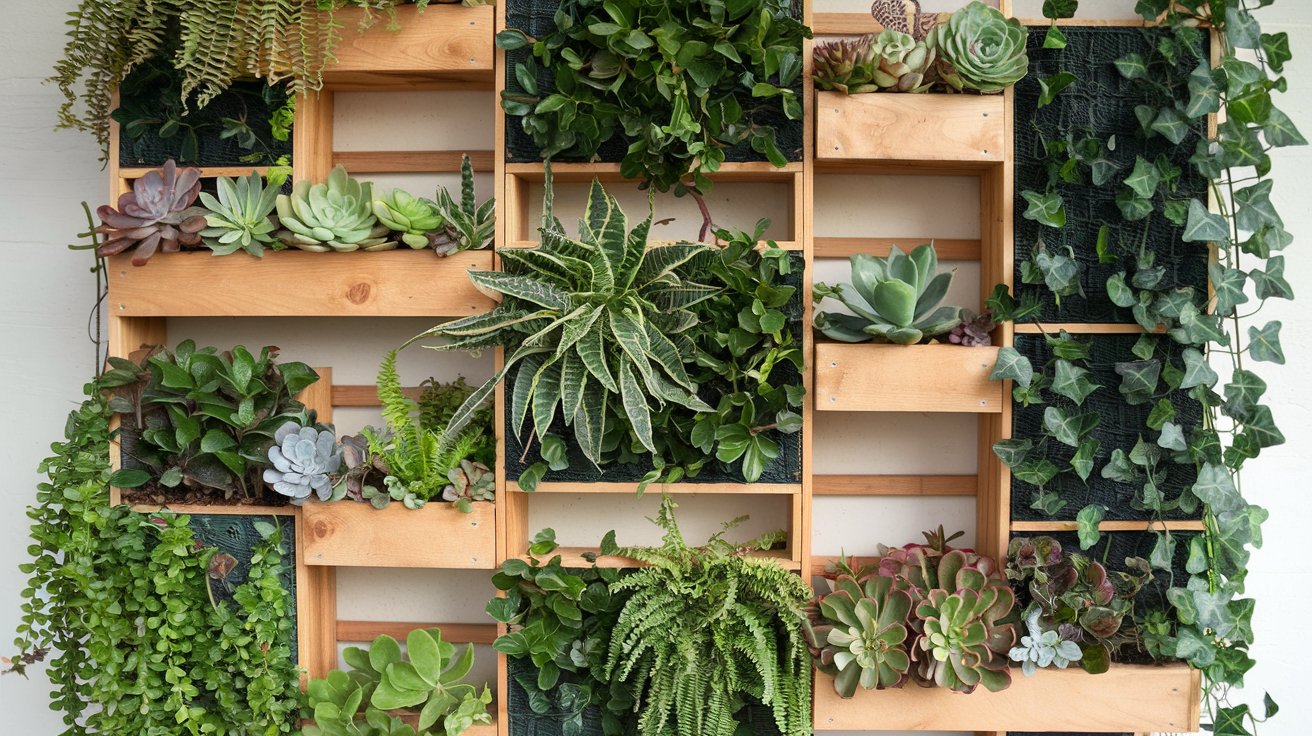
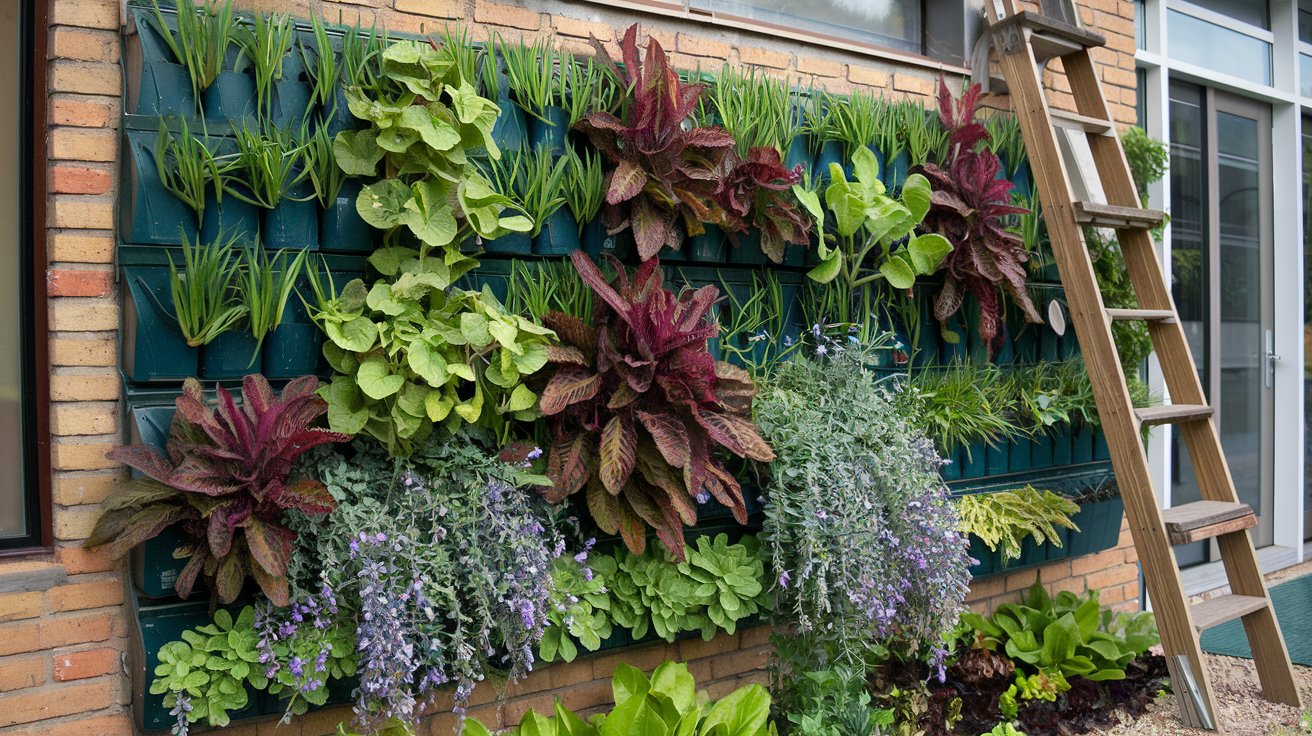
Vertical gardening is an innovative technique that allows you to maximize your growing space, especially in smaller gardens. By utilizing vertical structures, such as trellises, cages, or wall planters, you can grow climbing plants like peas, cucumbers, and tomatoes upward, rather than spreading them out horizontally.
This method not only saves ground space, but it also improves air circulation around the plants, reducing the risk of fungal diseases. Additionally, vertical gardening can enhance the visual appeal of your garden, creating a lush and dynamic environment. You can even grow ornamental plants alongside edible ones, blurring the lines between beauty and utility.
You reduce the need to bend and reach, making harvesting and care more accessible. Consider using vertical planters with pockets for herbs or flowers, or hanging baskets to create a layered look in your garden.
Aesthetic Enhancements
Creating an aesthetically pleasing garden can enhance your outdoor space and make gardening even more enjoyable. Start by considering the layout and design of your raised beds. Uniformity in height and materials can create a polished look, while varying shapes and sizes can add interest.
Adding seating areas around your raised beds can transform your garden into a welcoming retreat. Simple benches or decorative chairs invite you to relax and enjoy your surroundings. You can also create pathways with gravel, stepping stones, or mulch to define the space and make it easy to navigate.
The garden sculptures or birdhouses, can add personality and charm to your garden and decor your raised bed gardens. Planting flowers with vibrant colors or fragrant herbs near pathways to engage the senses. Creating themed gardens, such as a butterfly garden or a sensory garden, can also elevate the overall experience.
Season Extension Techniques
Extending the growing season is a key goal for many gardeners. There are several techniques you can employ to protect your plants from frost and cold weather. Cold frames are an excellent option for shielding young plants from harsh conditions. These simple structures can be made from old windows or clear plastic, creating a mini greenhouse effect that keeps plants warm.
Row covers are another versatile tool for season extension. These lightweight fabrics can be draped over plants to provide insulation without blocking sunlight. They can protect against frost and also help deter pests. Just be sure to secure the edges to prevent wind from displacing them.
Hoop houses, which are larger structures made from PVC or metal hoops covered with plastic, can provide a more permanent solution for extending your growing season. These can be built over your raised beds and can be used to grow a wider variety of crops throughout the year.
Conclusion
It’s a rewarding and enjoyable experience for both novice and seasoned gardeners to create a raised bed garden offers numerous benefits. Raised beds provide better control over soil quality, drainage, and weed management, making it easier to grow a variety of plants, from vegetables to flowers. One of the primary advantages is the ability to create a custom soil mix tailored to the specific needs of your plants, ensuring they have the necessary nutrients for optimal growth. Moreover, raised beds are easier to maintain, with less bending and kneeling required, which makes gardening more accessible and less physically demanding.
Choosing the right location, selecting appropriate materials for the frame, and adding proper soil and drainage layers are essential steps to ensure your plants thrive. It’s important to implement effective planting strategies, such as spacing plants correctly and considering their sunlight and water needs. With consistent care, including regular watering, weeding, and occasional soil amendments, your raised bed will continue to provide healthy plants year after year.
Finally, the effort put into creating and maintaining a raised bed garden is often well worth it. Not only will you enjoy the satisfaction of growing your own fresh, delicious produce, but your outdoor space will be enhanced by the beauty and vibrancy of a well-tended garden. Whether you’re growing herbs, vegetables, or flowers, a raised bed garden can bring both practical rewards and aesthetic value to your home.
Frequently Asked Questions
How deep does the raised bed need to be?
The ideal depth for raised beds varies depending on the types of plants you want to grow. Most vegetables thrive in a bed that is at least 12 inches deep, while root vegetables like carrots or potatoes benefit from beds that are 18 to 24 inches deep. A deeper bed allows for better root development, which is key to healthy plant growth.
Do I need anything at the bottom of my bed?
While it’s not strictly necessary to add a barrier at the bottom of your raised bed, doing so can provide significant benefits. Installing hardware cloth or landscape fabric can help prevent pests from burrowing into the soil and protect against gophers or moles. Additionally, a layer of coarse gravel or sand can improve drainage, particularly in areas with heavy clay soils.
Is it safe to plant vegetables in cinder blocks?
Planting vegetables in cinder blocks can be done safely, but it’s essential to ensure that the blocks are not treated with harmful chemicals. If you’re concerned, it’s advisable to line the inside of the blocks with landscape fabric or use a barrier to reduce potential leaching into the soil. Cinder blocks can provide excellent drainage and a unique aesthetic for your garden.
What are the benefits of growing plants in a raised garden bed?
Raised garden beds offer numerous benefits, including improved soil quality, better drainage, and enhanced accessibility for gardeners. They allow for greater control over soil conditions and can reduce the risk of soil-borne diseases. Raised beds also warm up faster in the spring, extending the growing season and allowing for earlier planting and later harvesting.
Are there any vegetable plants that may not work in a raised garden bed?
While most vegetables can thrive in raised beds, some deep-rooted plants like certain types of carrots and potatoes may require deeper beds to accommodate their root systems. If you have limited depth in your raised beds, consider growing shallow-rooted vegetables, herbs, and leafy greens, which tend to do well in a variety of soil depths.

Robert Martin is a passionate blogger and versatile content creator exploring the intersections of personal finance, technology, lifestyle, and culture. With a strong background in financial literacy and entrepreneurship, he helps readers make smarter money moves, build sustainable side hustles, and achieve financial independence.
Beyond finance, Robert shares his insights on home decor and gardening—offering practical ideas for creating beautiful, functional living spaces that inspire comfort and creativity. He also dives into the dynamic worlds of sports and celebrity news, blending entertainment with thoughtful commentary on trends that shape today’s pop culture.
From decoding the latest fintech innovations to spotlighting everyday success stories, Robert delivers content that’s informative, relatable, and actionable. His mission is to empower readers to live well-rounded, financially confident lives while staying inspired, informed, and ahead of the curve.

